CHA workshop project - Envelobox card
- Read time: 6 minutes
- Written by: admin

 Good morning from the other side of the world (I know it's early evening for you guys, but not for my body clock)! I'm in LA for the CHA trade show at the moment, and have just finished my Ultimate Pro / Core'dinations workshop. Everyone in the class absolutely loved the project, and was amazed at how easy this was to create (which it always is when you've got the right tools of the trade!)
Obviously, this show is only open to the trade, and I know loads of you would have loved to have been here if you could, and I didn't want you guys to miss out, so I've written out the instructions for the project we made in the class below... it's for an envelobox card, which is an easel card in an envelobox. It's simple to do, but with the additional effects that the Core'dinations card gives the finished piece, it's absolutely stunning!
What I've done here is actually converted all the sizes to work with the UK Ultimate pro (over here they have different paper sizes, so the Ultimate is slightly different, but you don't need to worry, I've done the conversion). But the pictures here are what were used in the class, so make sure you work off the written sizes, not the pictures!)

In the class we used:
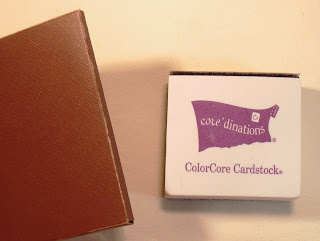
Core'dinations ColorCore Cardstock:
(1) Vanilla Cream*
(1) French Roast*
(1) French Roast embossed grid design*
(1) Tranquil Blue flower embossed*
(1) Sand It Gadget
Self-adhesive velcro dot
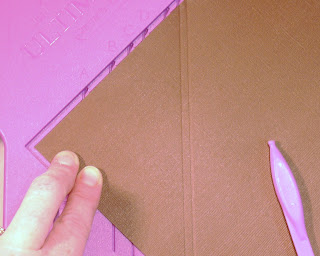
1. To begin you need to make a 4-inch square Envelobox. Start with an 17x17cm square of French Roast Core'dinations card. Place the square of card onto the board and butt up against the far locator point and score line C.

2. Then move your card slightly to the right until it butts into the envelobox step and score line C again.

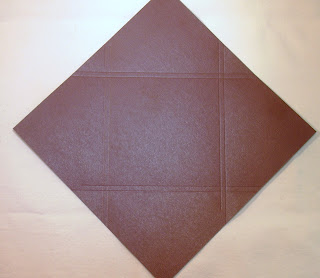
3. Repeat this process on the three remaining corners. As the four flaps of this Envelobox need to fold in both directions, turn the card over and repeat all of the scorelines again on the other side of the card in exactly the same places. This will make the lines fold a little easier.

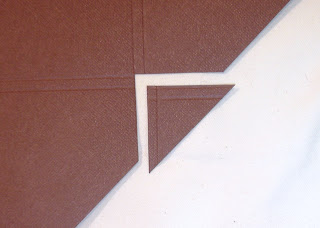
4. At each corner where the scored lines intersect, trim out the triangle to the point where the inner lines meet.

5. Use your sanding block to distress all of the scored line, both inside and out.

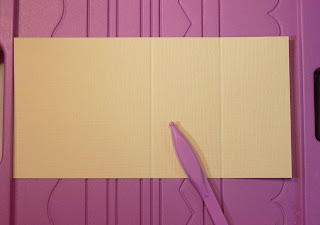
6. From the Vanilla card, cut a piece of card to the length of A4, but only half the width (297mm x 105mm). Place it onto the card scoring side with the white side facing upwards, making sure that the card is butted up to the edge where the handle is. Score both the Half-Fold A4 and the Gatefold A4 lines.

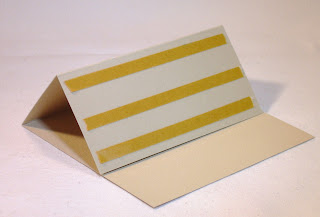
7. Fold as shown and place some adhesive along the bottom half panel.

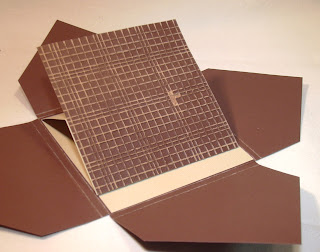
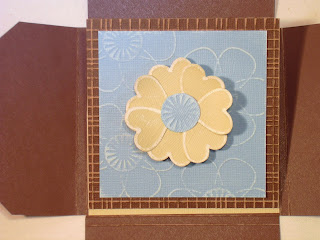
8. Cut a square from the grid embossed French Roast card to measure 4x4". Gently sand away the top with the block and stick this to the adhesive on the half panel. Stick the base of the easel into the centre of the Envelobox.

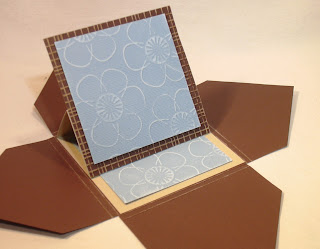
9. Cut two squares measuring 3.5" x 3.5" from the Tranquil Blue flower embossed card. Gently sand over the top and mat these onto the inner and outer panels of the card.

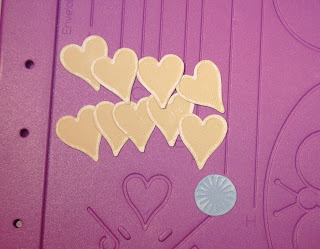
10. To decorate the card, use the Vanilla card to emboss, sand and cut out nine hearts from the Enveloper side of the Ultimate. Also, cut out and sand one of the flower centres from the Tranquil Blue card.

11. Make a flower embellishment by sticking seven of the hearts behind the blue flower centre to make a large flower. Stick to the front of the card on a 3D foam pad.

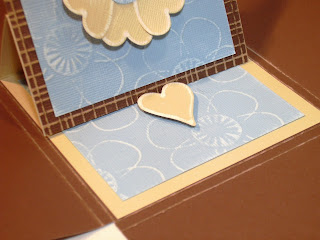
12. Mount one of the hearts onto a 3D foam pad and stick just below the half way point on the inner panel. This forms the stand for the front of the card to slot behind to make the easel.

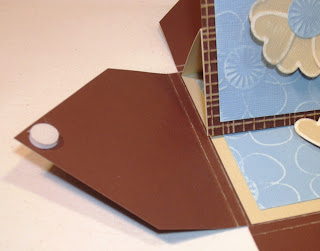
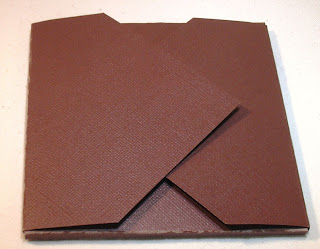
13. To make the closure, stick the complete Velcro dot onto one of the side flaps.

14. As you fold in the four envelobox flaps, stick the second piece of the Velcro onto the opposite corner.

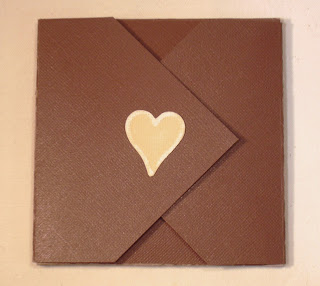
15. Use the remaining heart to decorate the back of the closed envelobox.

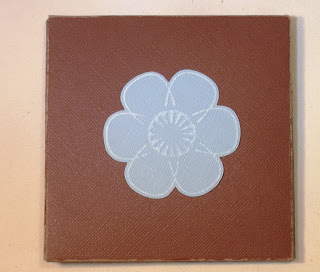
16. Finally, sand and cut out one of the flowers from the blue card to decorate the front of the closed envelobox.

17. The final card will open out and the flaps will fold around the back of the card and re-attach on the underside for a neat and unusual card!
So there we have it! For the beady-eyed among you, you may have realised that a number of the Core'dinations items are not yet available on our web site, but don't worry, we've got them on order and they'll be arriving early March. I'm sure you'll agree, they're worth the wait! In the meantime, I didn't want you to miss out on the technique - it'll look just as gorgeous using other card from the Core'dinations ColorCore Cardstock range! To see the full range that we currently stock, click here!
Happy crafting 'til next time! And remember if you're wanting to keep up to date with what me and the rest of the team are getting up to at the CHA show, make sure you follow our updates on Facebook and Twitter - the links are on the right hand side of the blog.
Sara xx


