Tutorial: Box Bag with the Scoremaster
- Read time: 3 minutes
- Written by: admin

Box-bags are a great way of wrapping small, special and even breakable gifts as the base is a box! This tutorial uses a 3” x 2 ½” box base but you can follow the same principles to make it any size required.
Supplies:


Directions:

To make the box base:
Cut Centura Pearl card for the box base 6” x 5 ½” and score along the long edge at 1 ½ and 4 ½”. Rotate 90% and score at 1 ½” and 4”.
Fold and burnish all sides, cut along the right side score line to the cross, rotate and repeat on all 4 corners. Fold up each side and attach to form corners using red liner tape.

Add red liner tape to each side of the box, top and bottom. Use separate lengths for each side to make the next step easier.
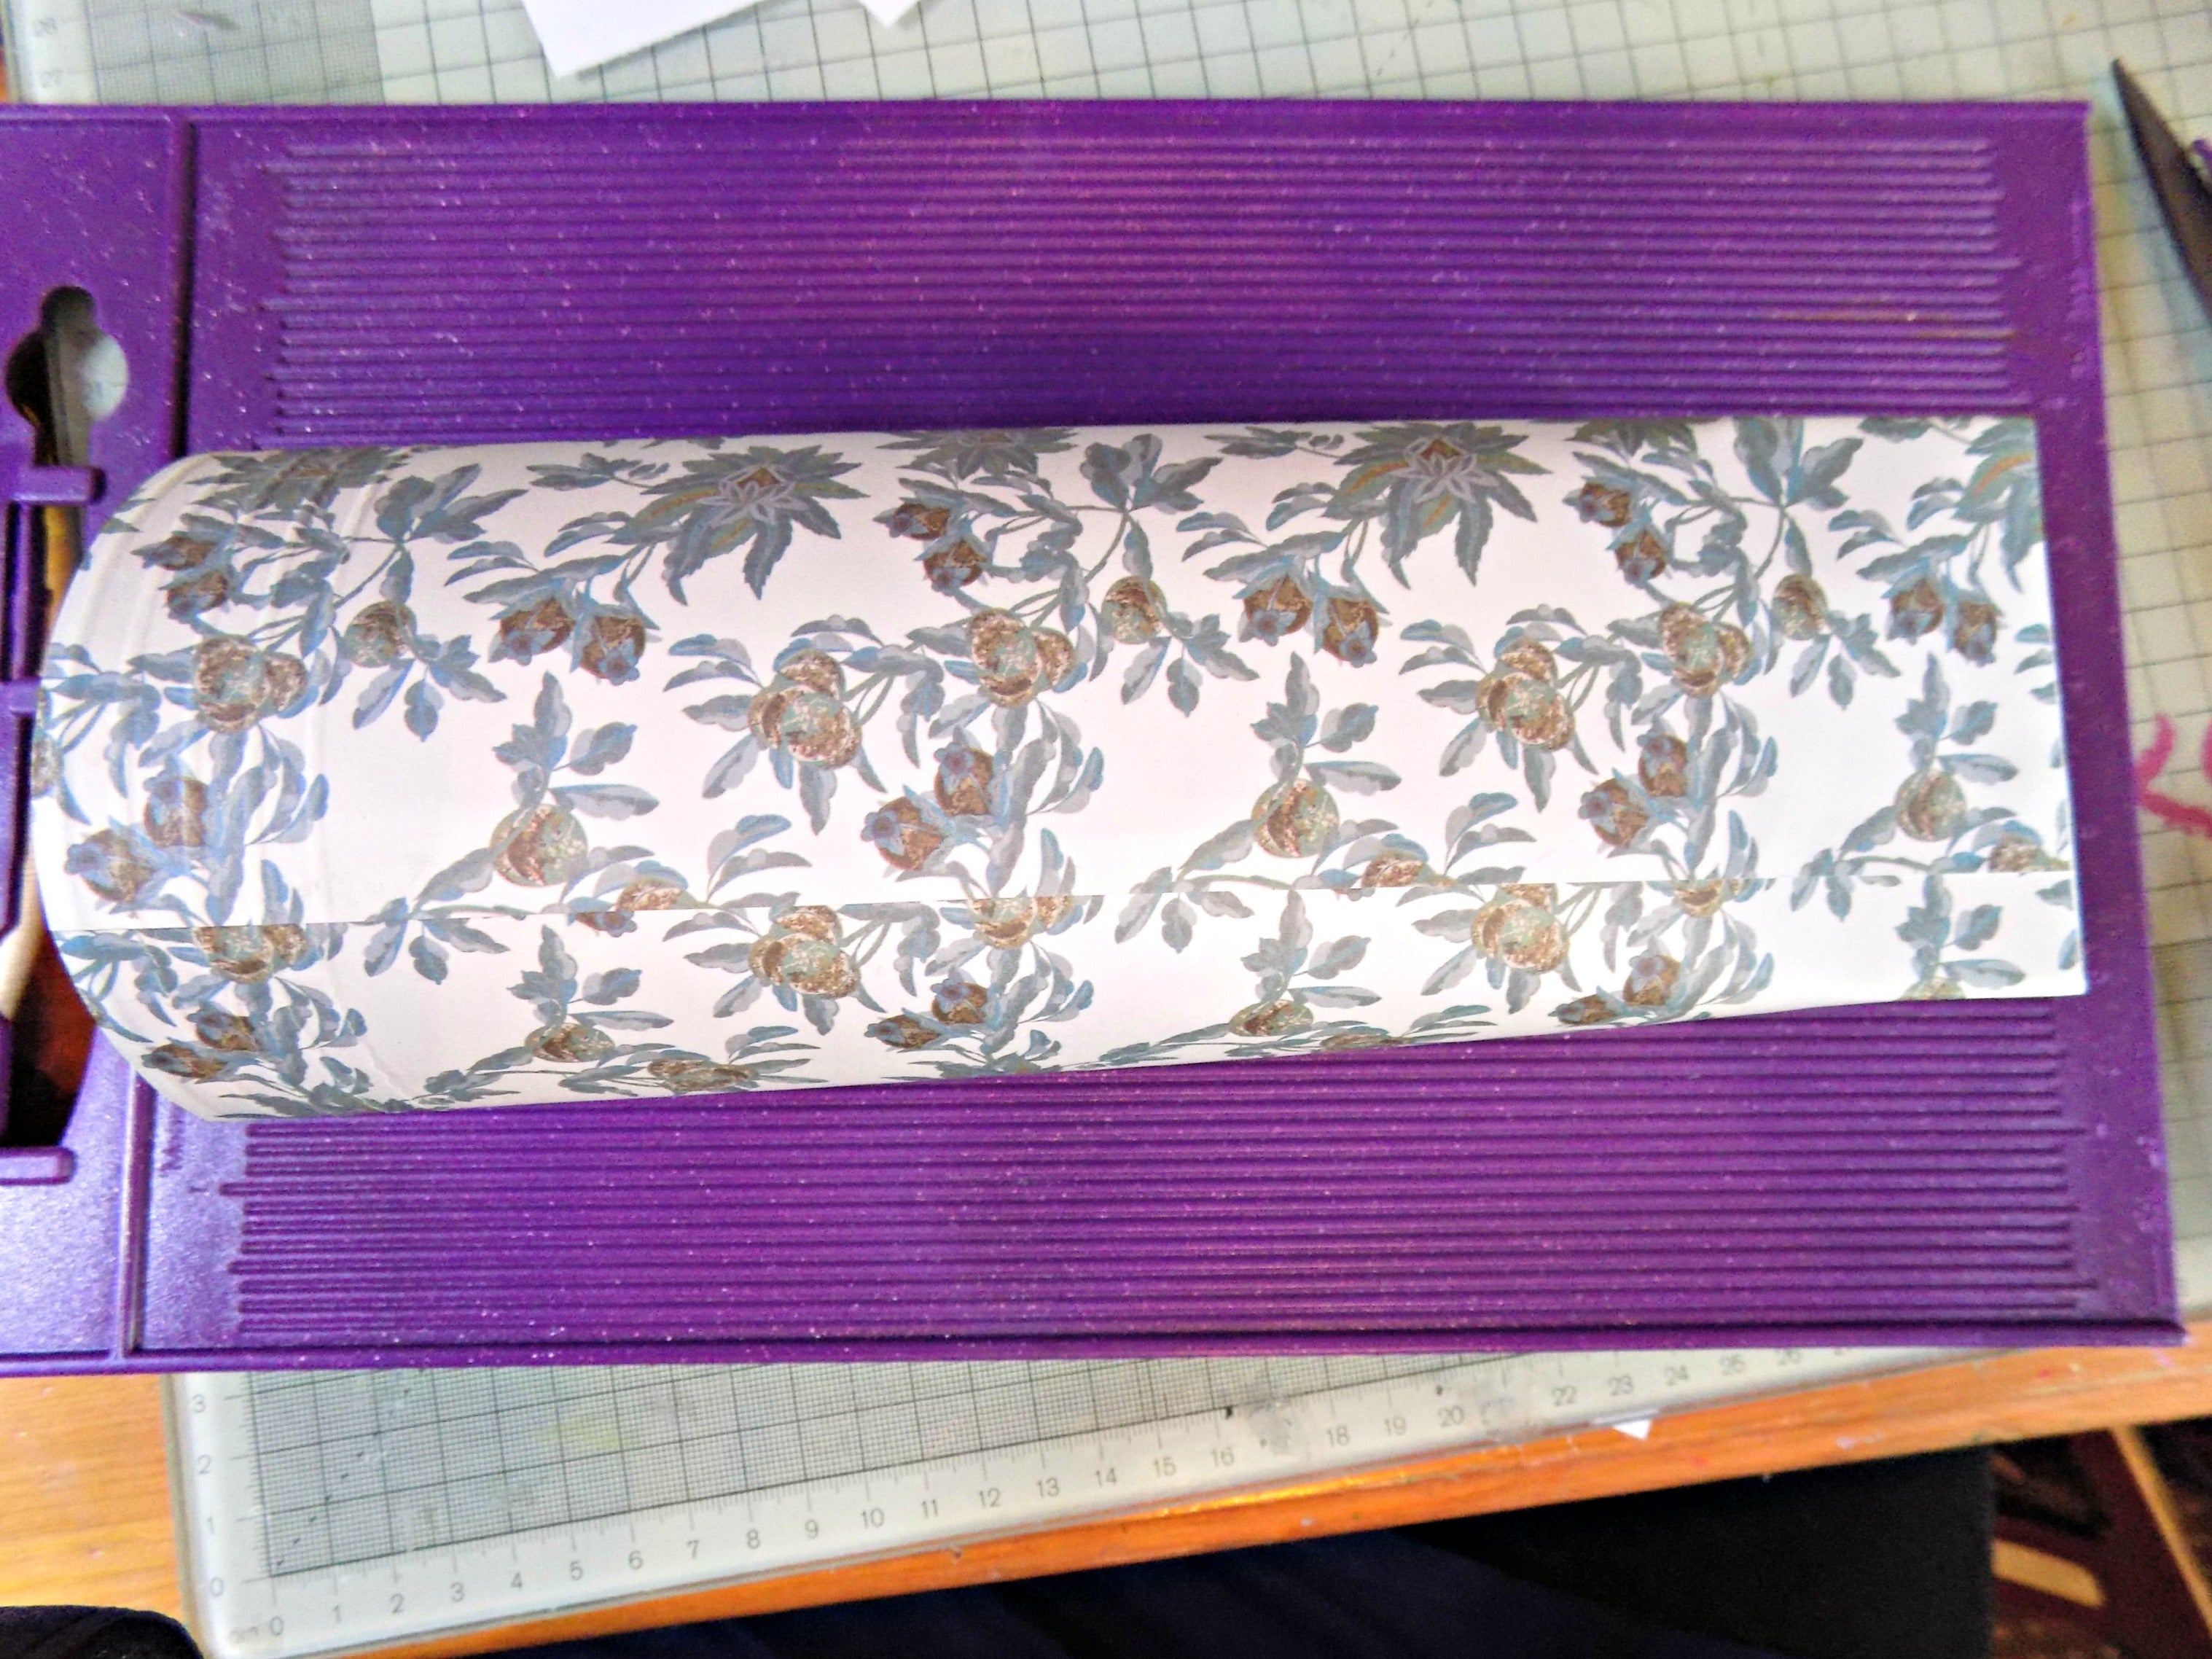
Quality paper is needed for the top of the box, the Downton Abbey 12 x 12 Paper Pad is perfect. You can have any height needed but for this tutorial the height is 8 ½” which is just perfect.
The calculation for the length you need is: adding the length of all 4 sides and adding 1” extra to join it together. For this box base the calculation is 3” + 2 ½” + 3” + 2 ½” = 11” + 1” seam = 12” total. The paper is cut to 12” long and 8 1/” high.

Remove the backing to the tape on one side and attach the paper in the middle and in line with the bottom of the box base (starting in the middle means the seam will be at the back).

Using the edge of the Scoremaster as a guide to attach the paper to the bottom edge, remove the backing of the tape one side at a time, rolling around the corners to keep the paper taught against the box without creasing it.

When you reach the last bit, add Collal Tacky Glue to the edge (a wet glue is need so you can make sure the seam remains even all the way up and does not go off on a diagonal).
When finished you will see that the top is a cylinder but the base is a box!
Now stand the bag box upright and the seam to the back, pinch the sides together and make a crease each side so they now close together.
Cut two strips of Chocolate Centura Pearl 5 ¼” x 1 ¼” and add either side at the top approx. 1/8” from the top. Punch two holes through and thread with ribbon to close.
Now the tag…

Top Tip: use the Scoremaster to easily measure the centre of the tag for the hole and to make a tail at the bottom!

Die cut all the bits of the Die’sire Poinsettia die set in vellum and colour on the back with Spectrum Noir markers, DR6 and LG5, go over some portions more than others to vary the colouring for a realistic look.

Layer and shape the Poinsettia, curling the petals and attach with tacky glue to the tag. Add matching ribbon to the bag box and you’re all set to go.


