Tutorial: Accordion Step Out Card
- Read time: 2 minutes
- Written by: CraftersCompanion
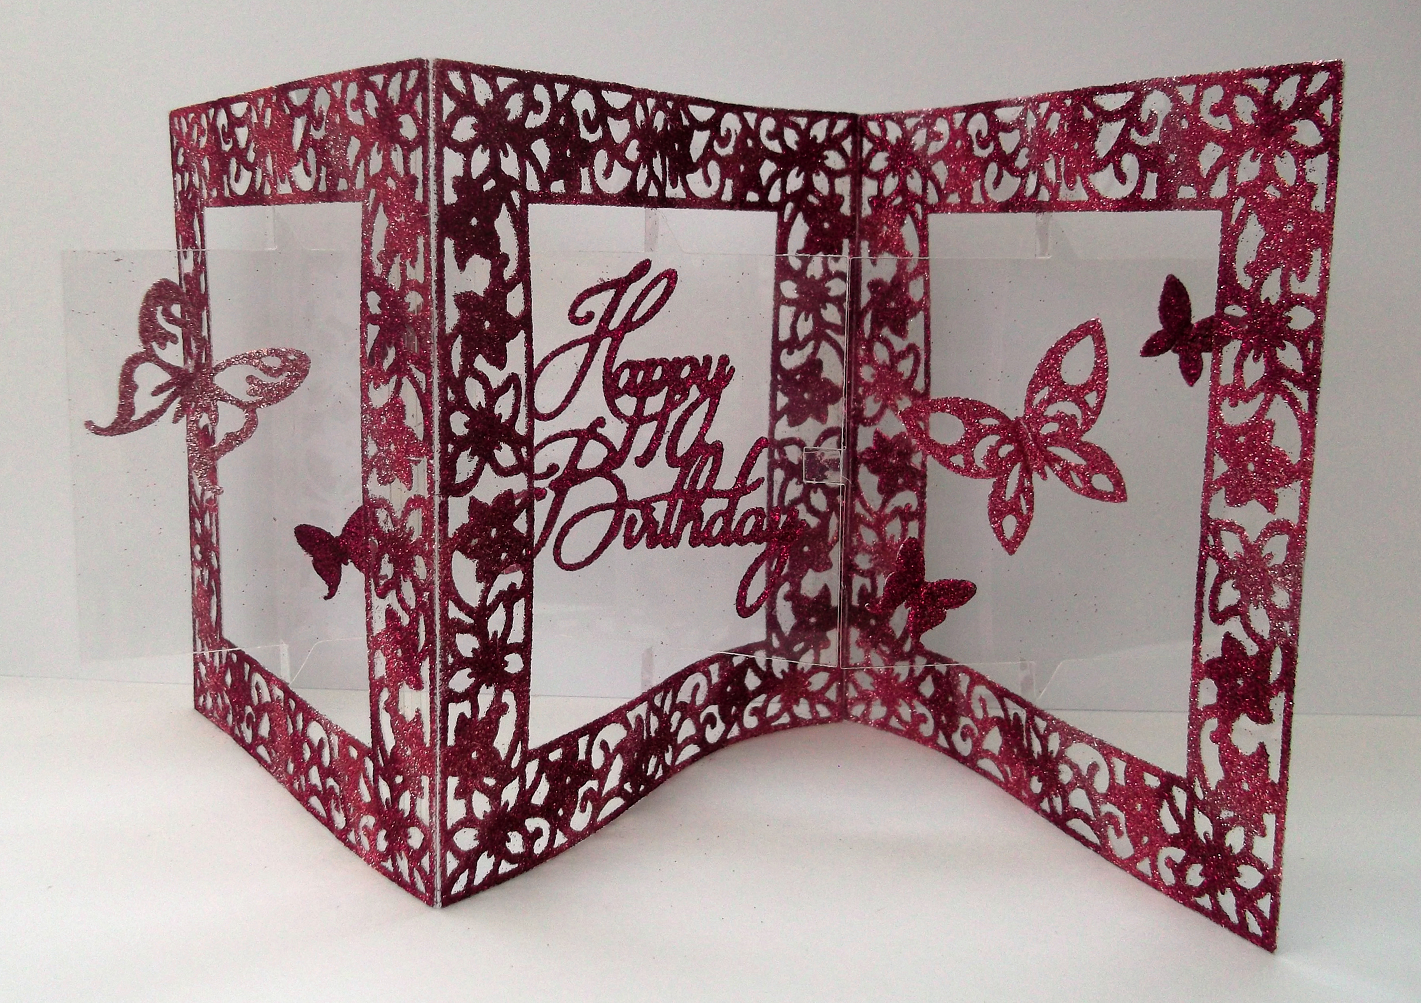
In this tutorial, Marie will show you step by step how you can create this gorgeous accordion card.
Crafter’s Companion Supplies:


Other Supplies: Pink card, Glitter in three shades and a Brayer.
Directions:
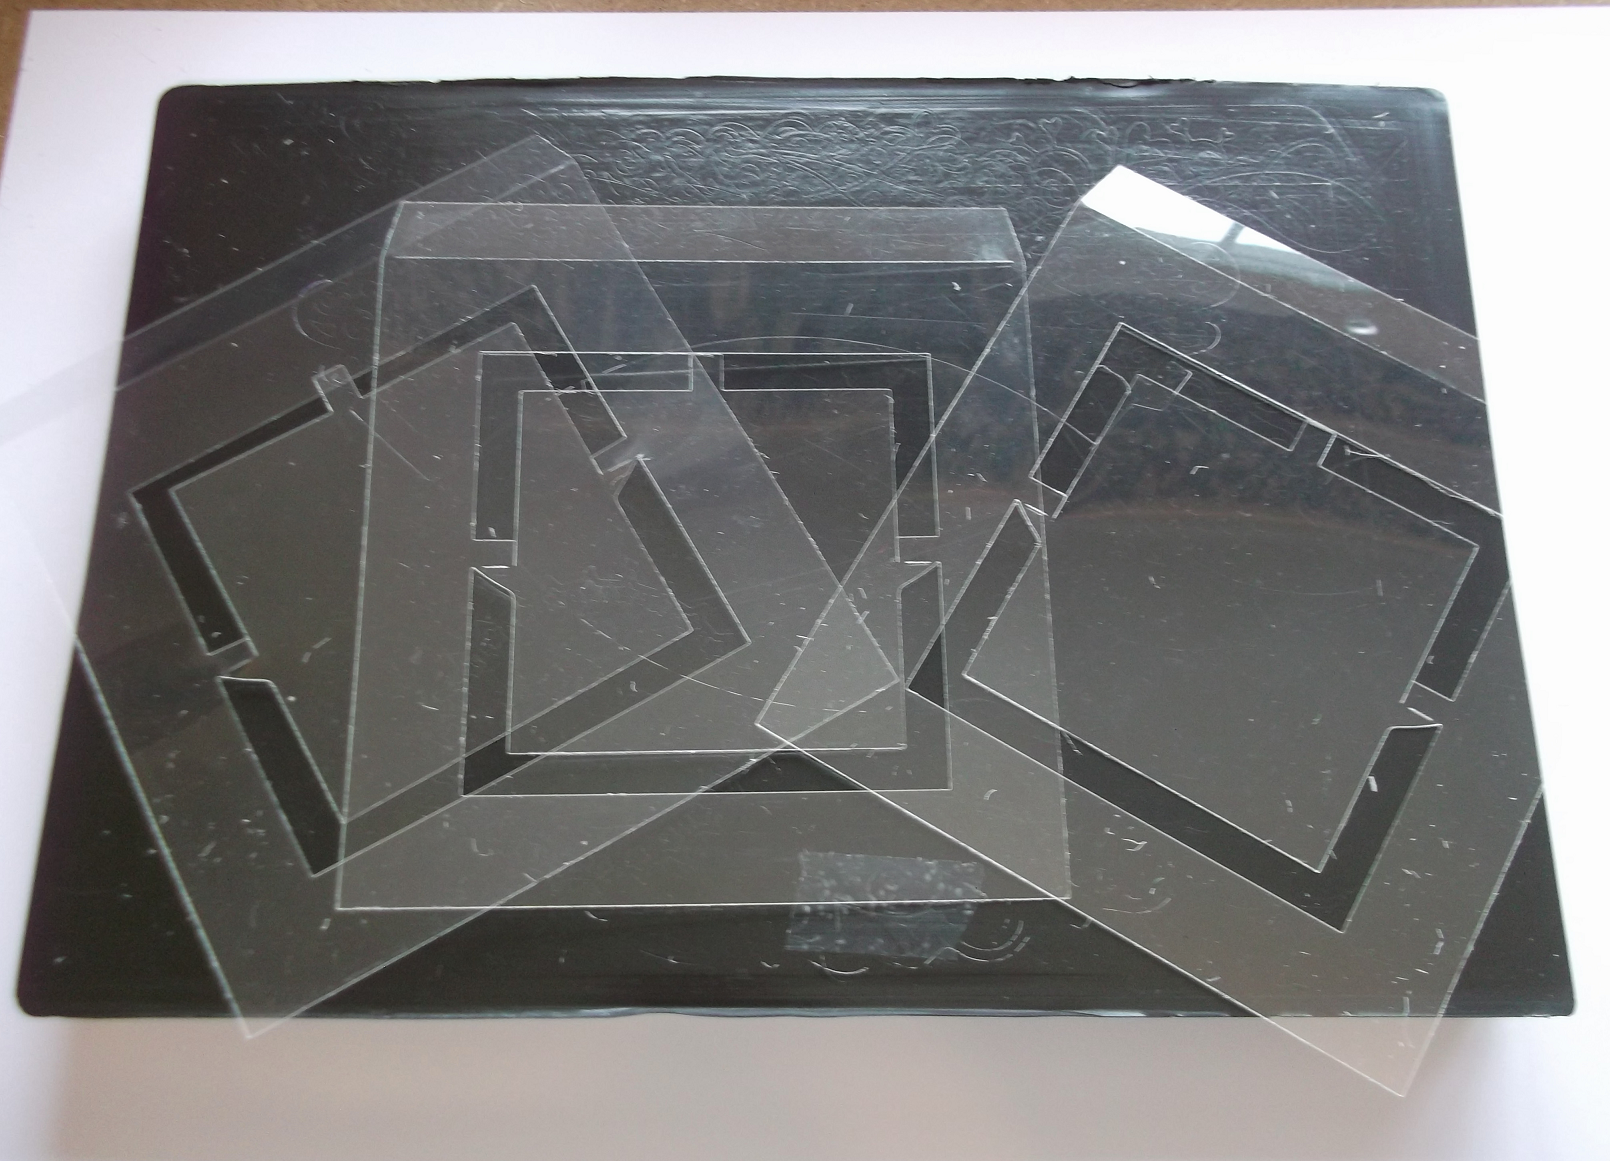
Step 1. Die cut three Square Accordion cards from heavy weight acetate.

Step 2. Attach Stick It sheet to both sides of a sheet of white card and die cut six Floral Melody overlays.

Step 3. Peel off the backing from the Stick It on the back of the overlay and attach to the acetate card.
Burnish the overlay on the front and back to ensure the overlay is attached to the acetate.

Step 4. Repeat with a second overlay to complete the frame. Do this on all three acetate fronts.

Step 5. Peel off the Stick It backing from the front of the overlays, and sprinkle with the darkest shade of glitter over parts of the overlay as shown.
Tip off the excess glitter.

Step 6. Repeat with the mid shade of glitter.
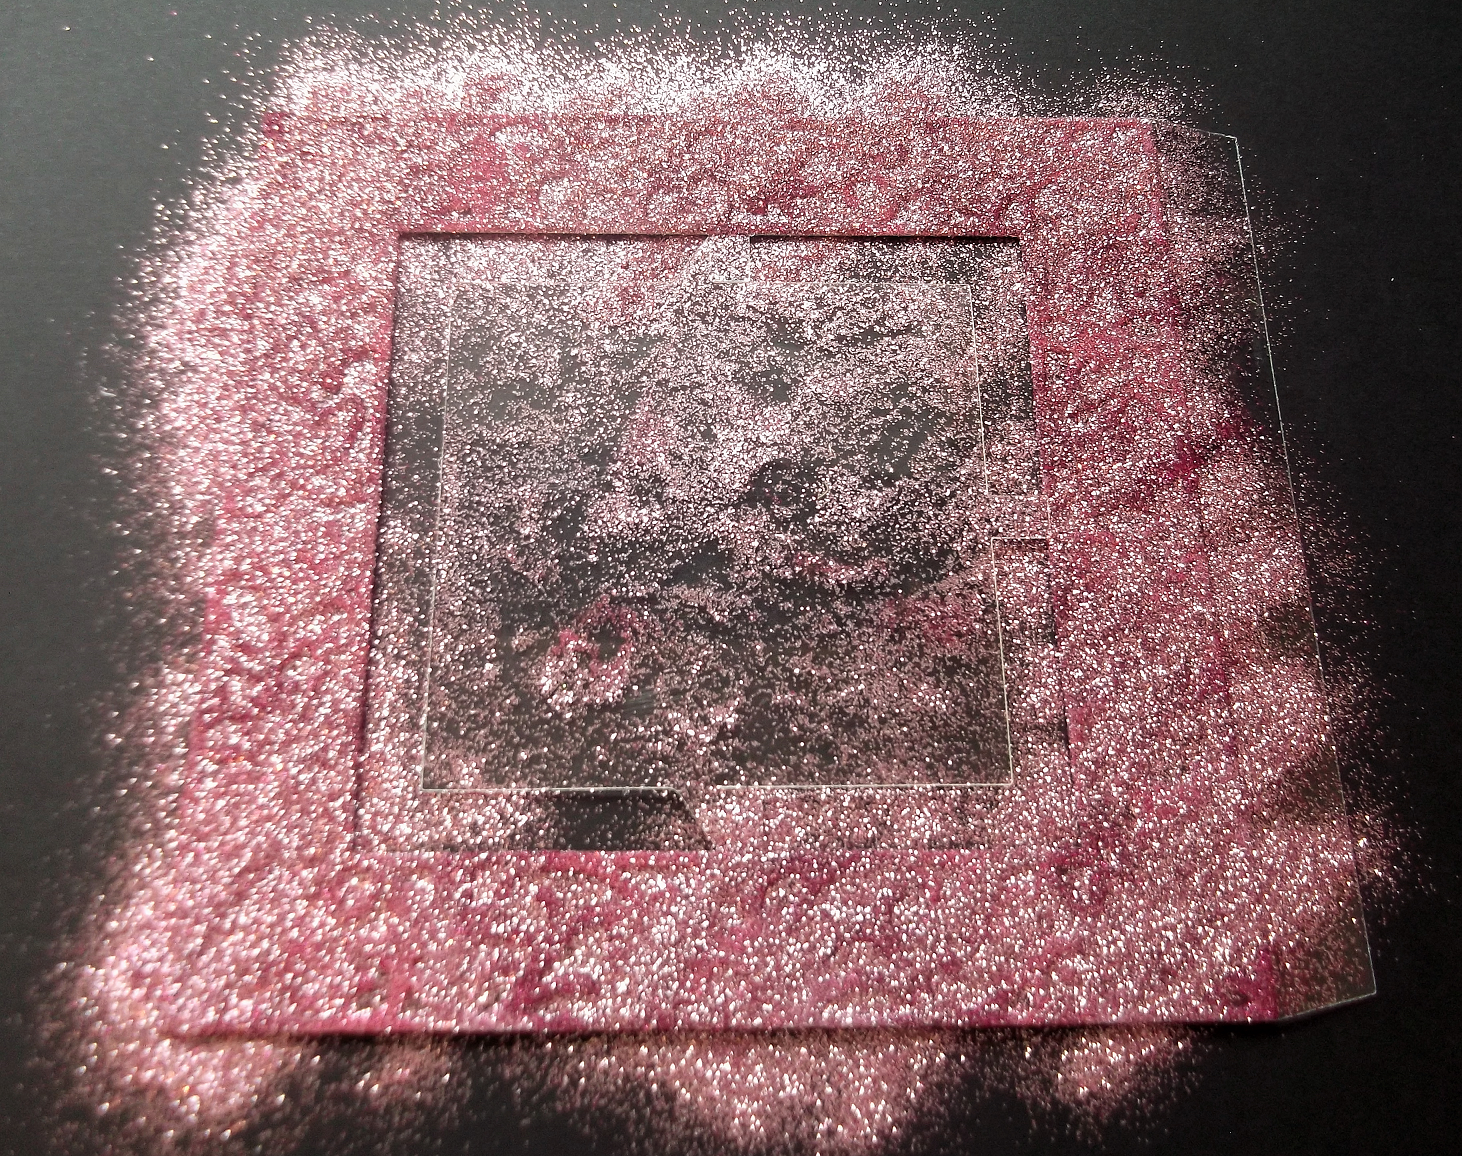
Step 7. Cover the whole overlay with the lightest shade of glitter – this will ensure all areas are covered with glitter.

Step 8. Place a piece of copy paper over the glitter and use a brayer over the top to burnish the glitter onto the Stick It.

Step 9. Tip off excess glitter and use a large soft brush to remove loose glitter from the acetate.

Step 10. Attach the three acetate cards together, cutting off the joining flap from the last piece.

Step 11. Attach Stick It to the back of a piece of pink card and die cut butterflies and Happy Birthday.

Step 12. Remove Stick It backing, cover with glitter and attach to centre pieces of card to finish.
Share your projects and cards with us on our Facebook page, tag us on Instagram (#crafterscompanion) or on Twitter (@CraftersCompUK)!


