Tutorial: Colouring with AquaBlend pencils
- Read time: 3 minutes
- Written by: CraftersCompanion

We know how daunting it can be to a beginner wanting to colour images so we asked Linda to share a simple technique for you all colouring with the Spectrum Noir Aquablend Pencils!
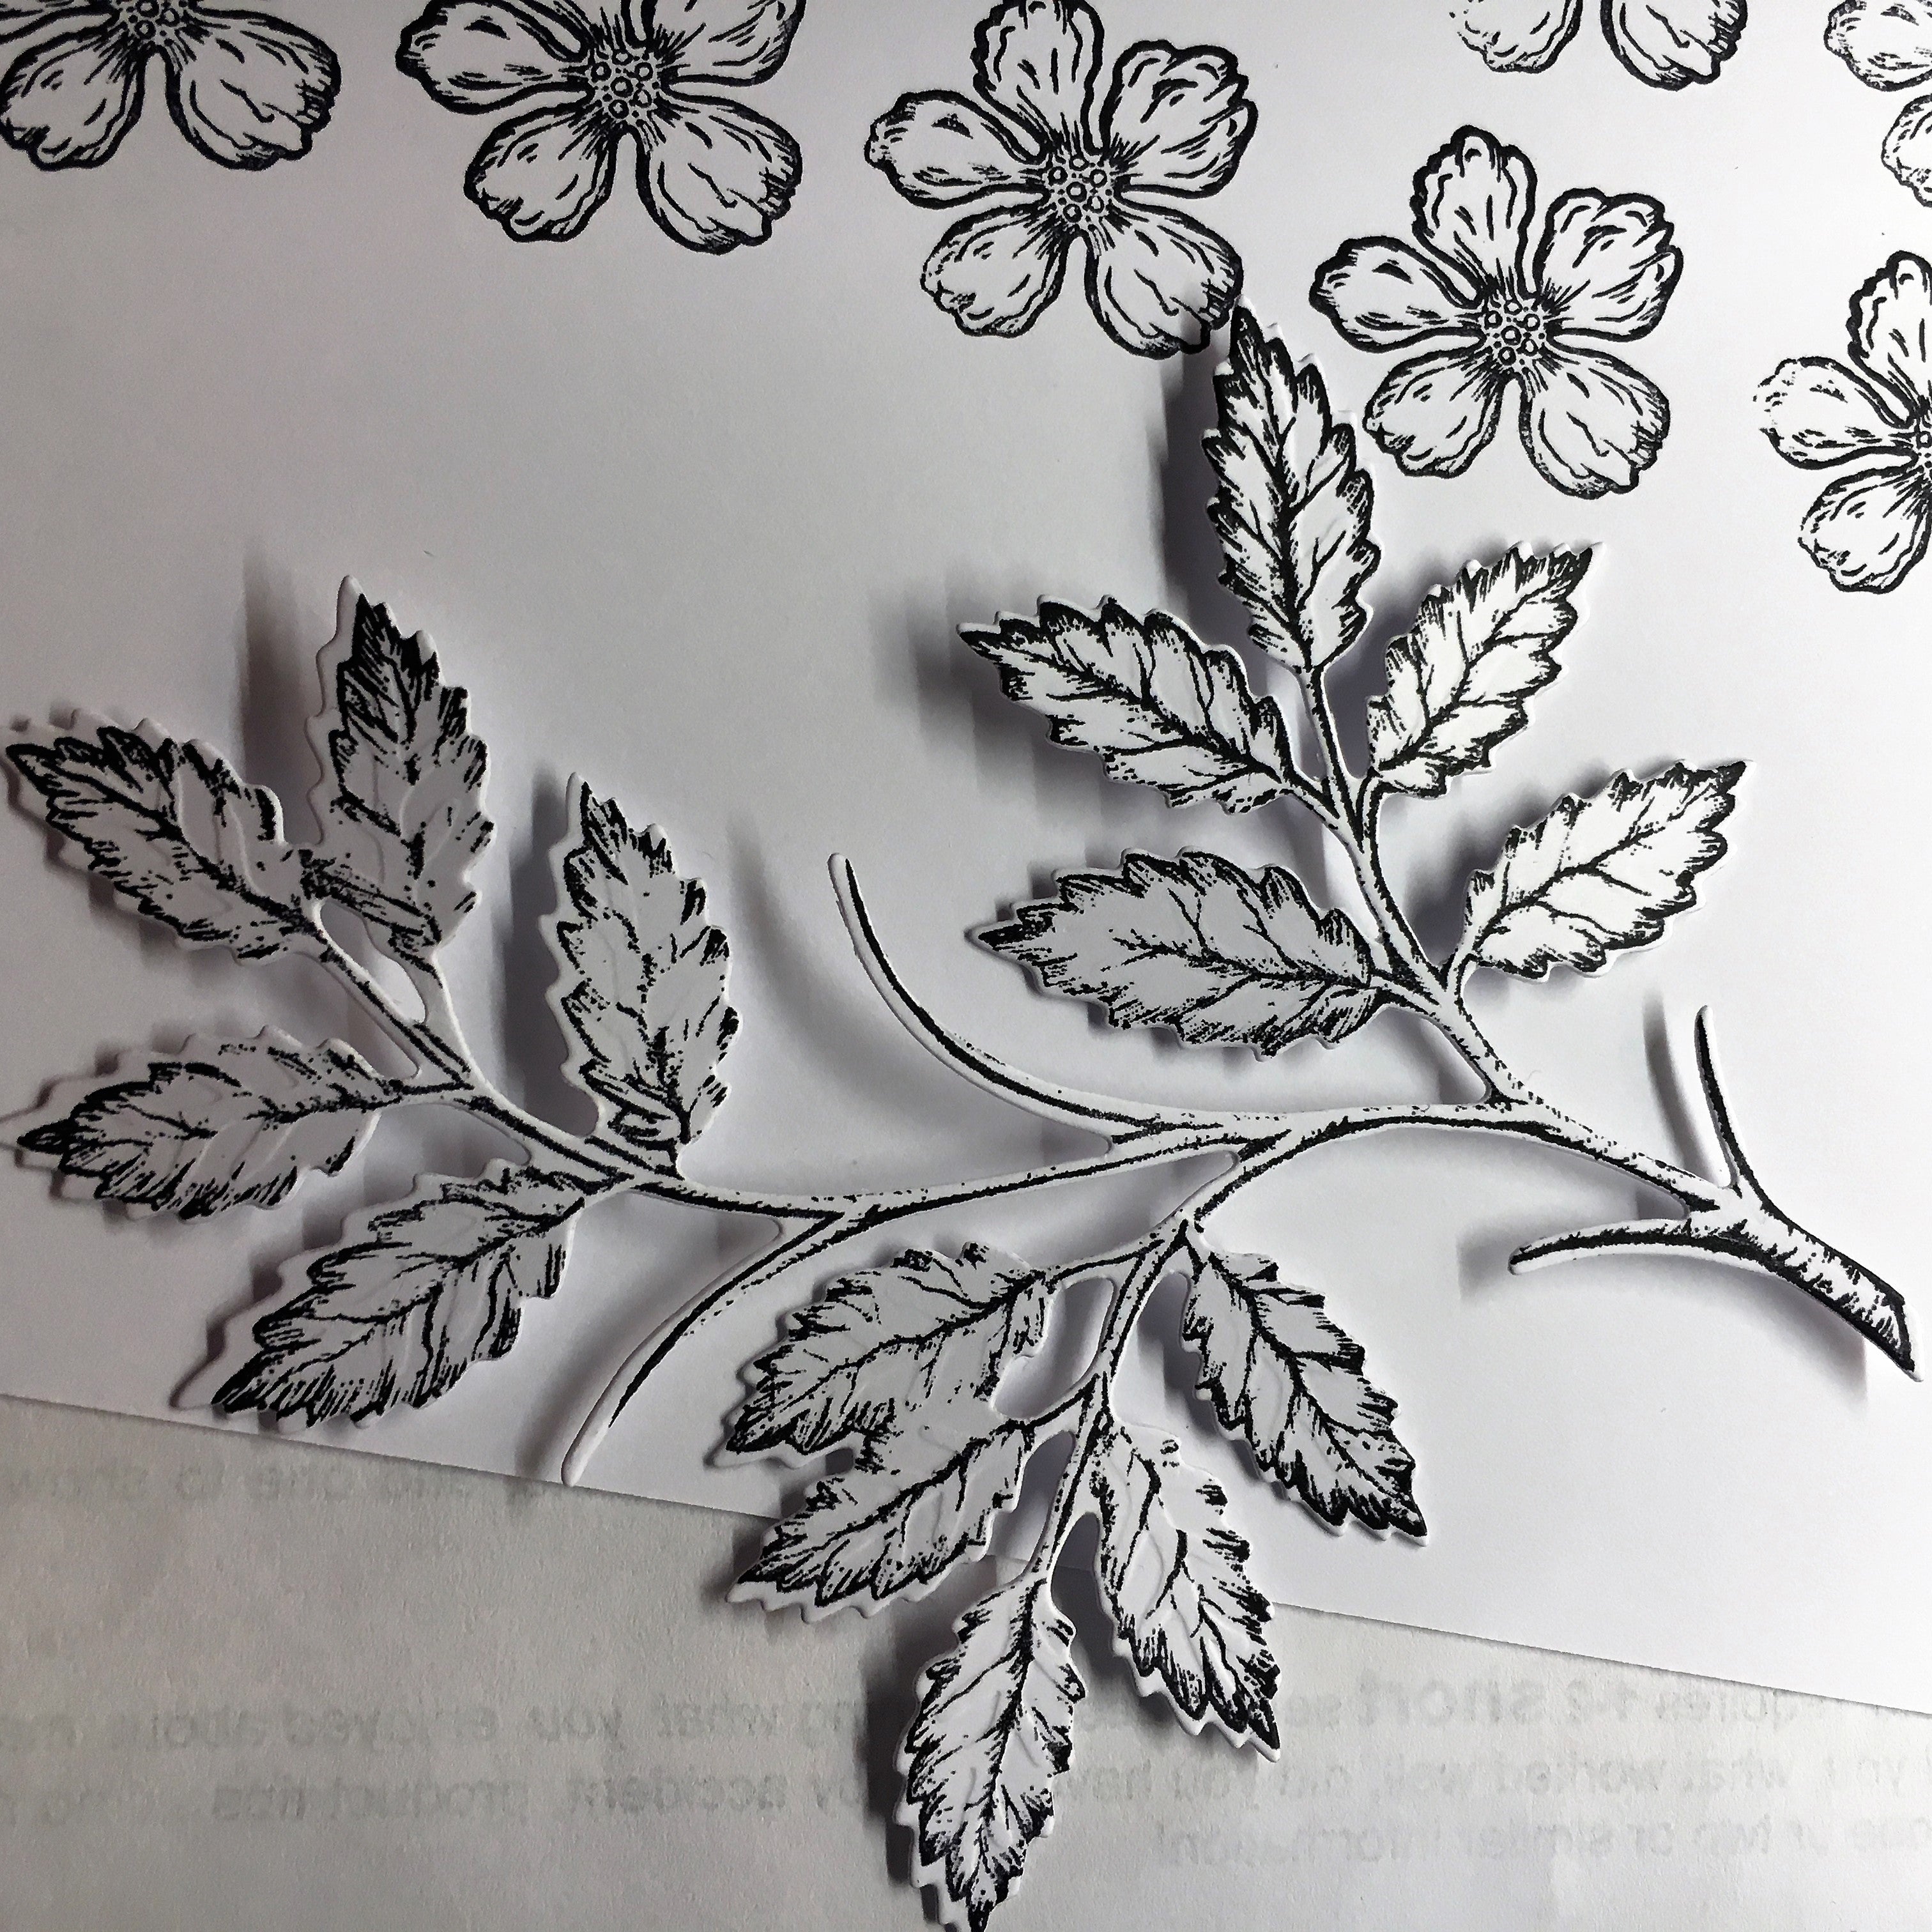
Step 1: Stamp and die cut the leafy branch from Sheena Douglass’s Perfect Partners Wild Rose Briar onto the Sheena Douglass White Stamping Card using Archival ink.
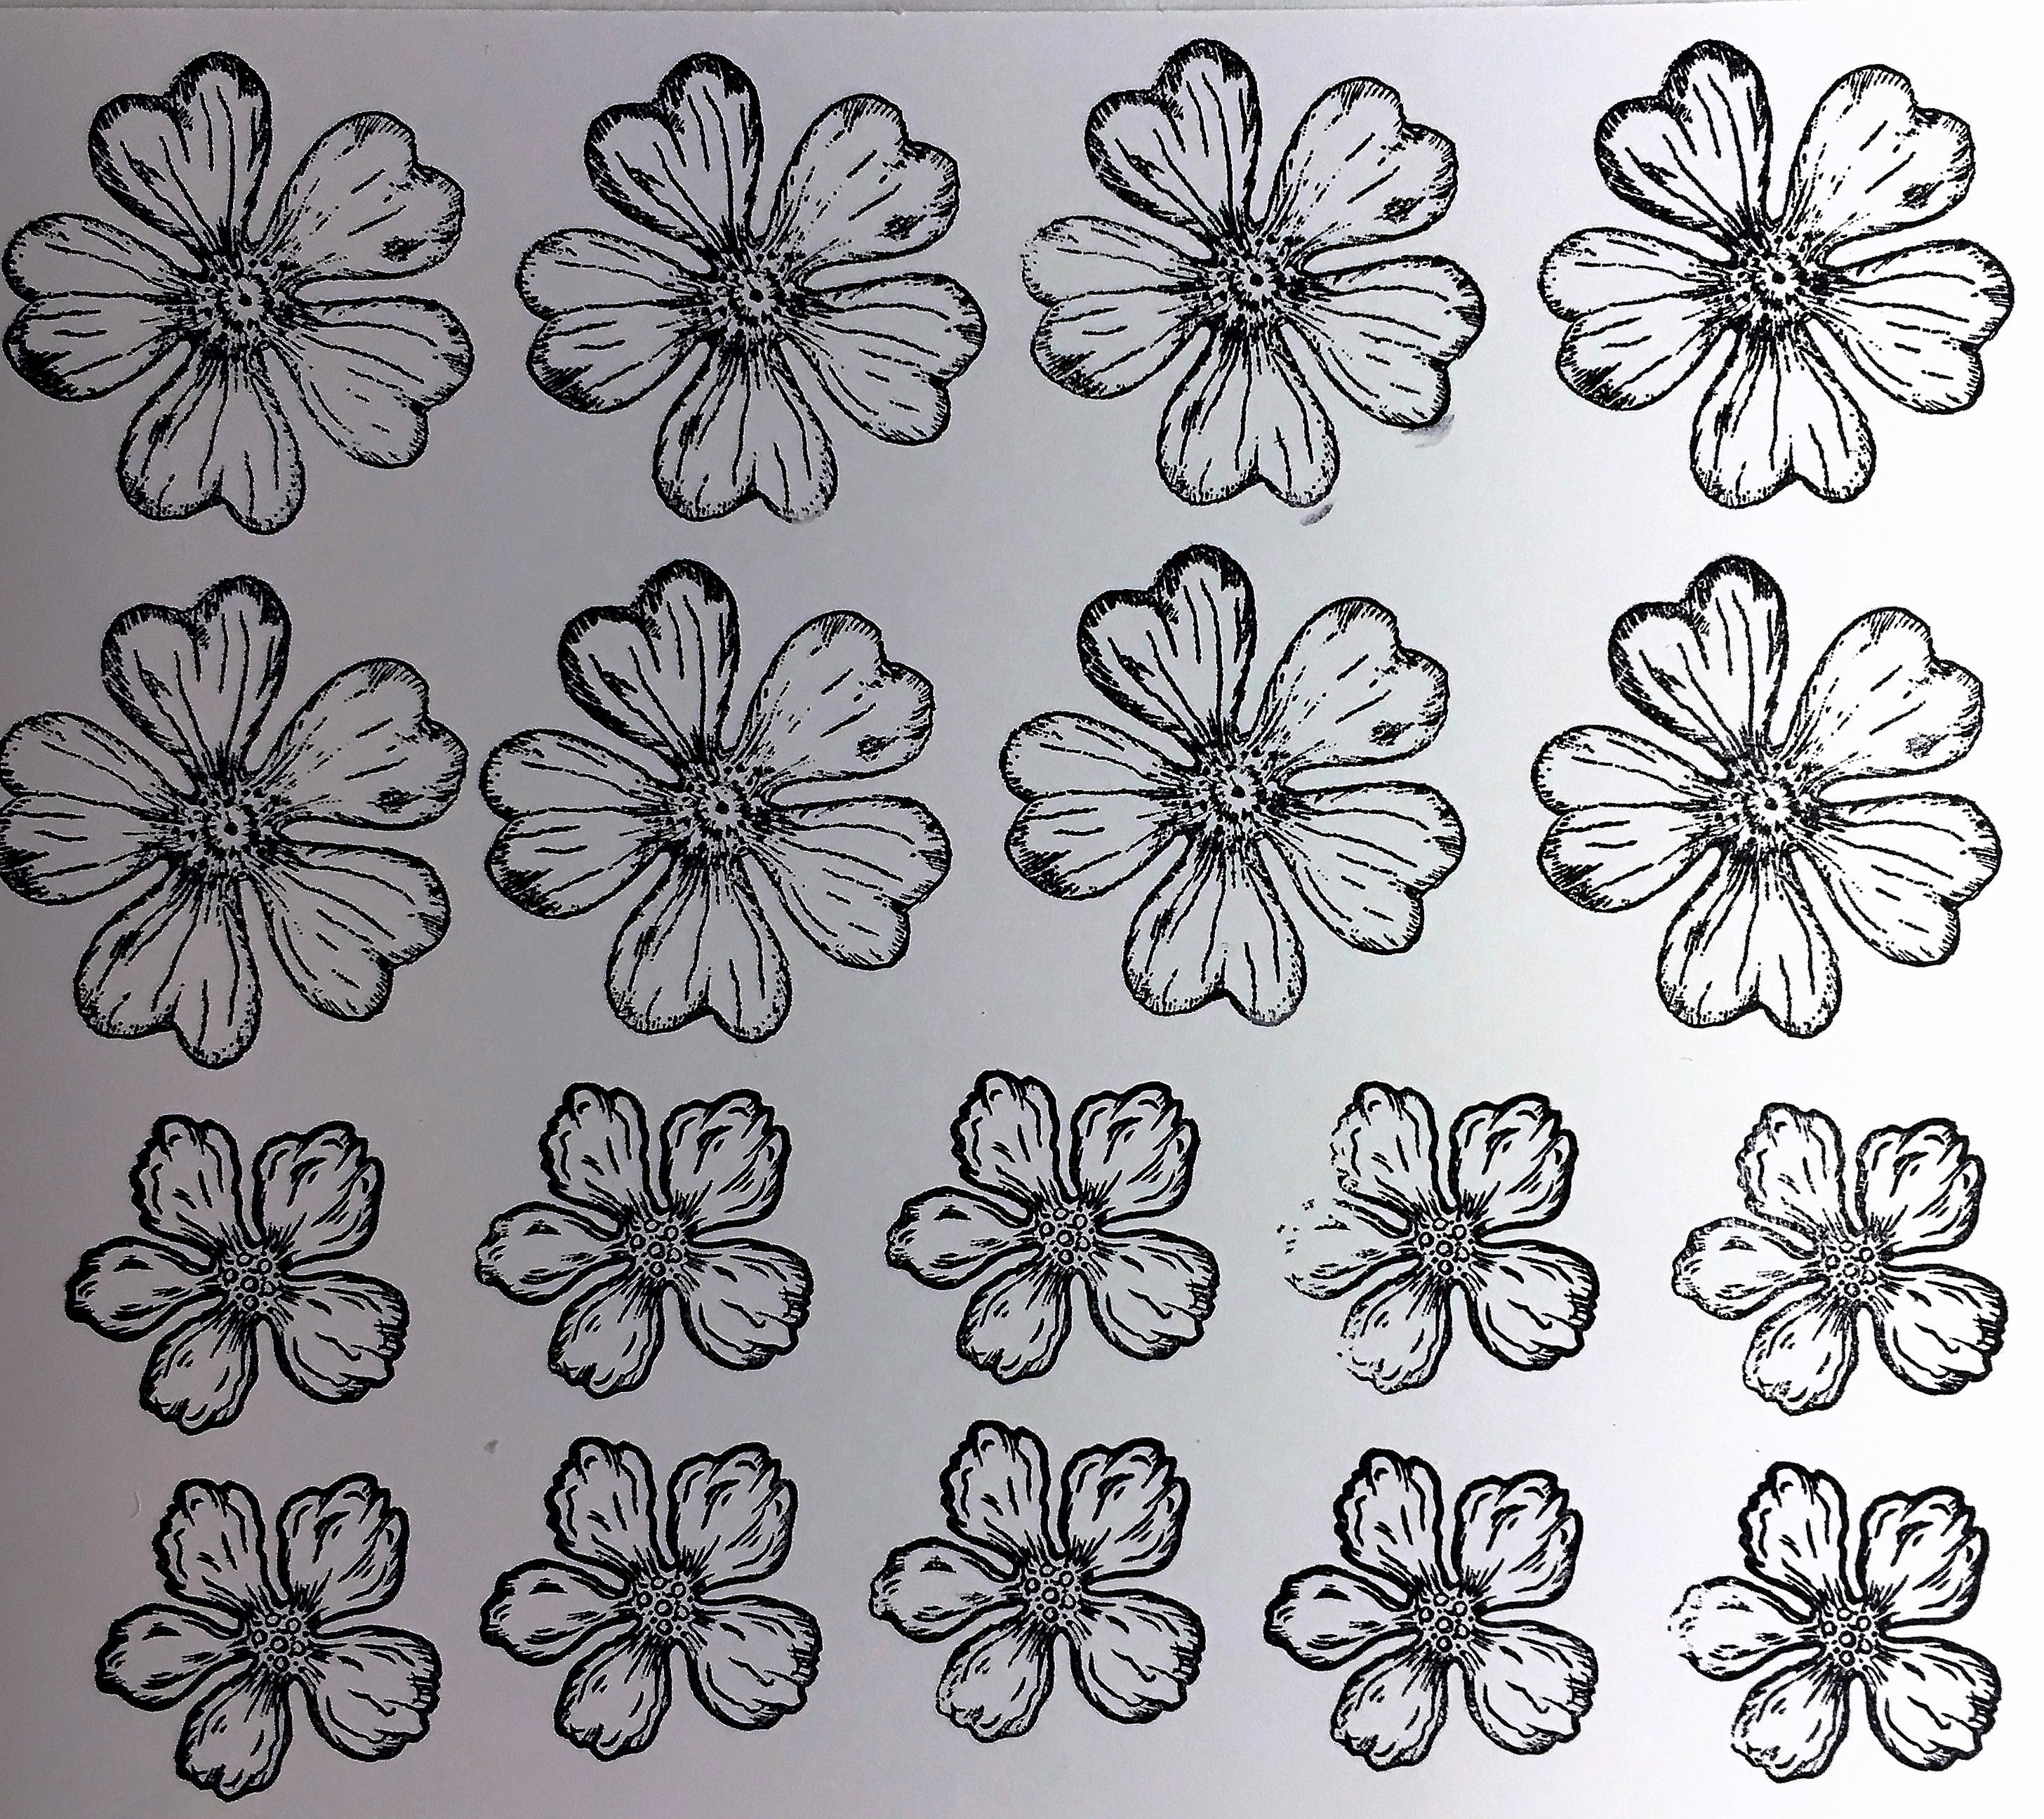
Step 2: Next stamp lots of blooms – try to do a whole sheet at a time so you always have a supply.

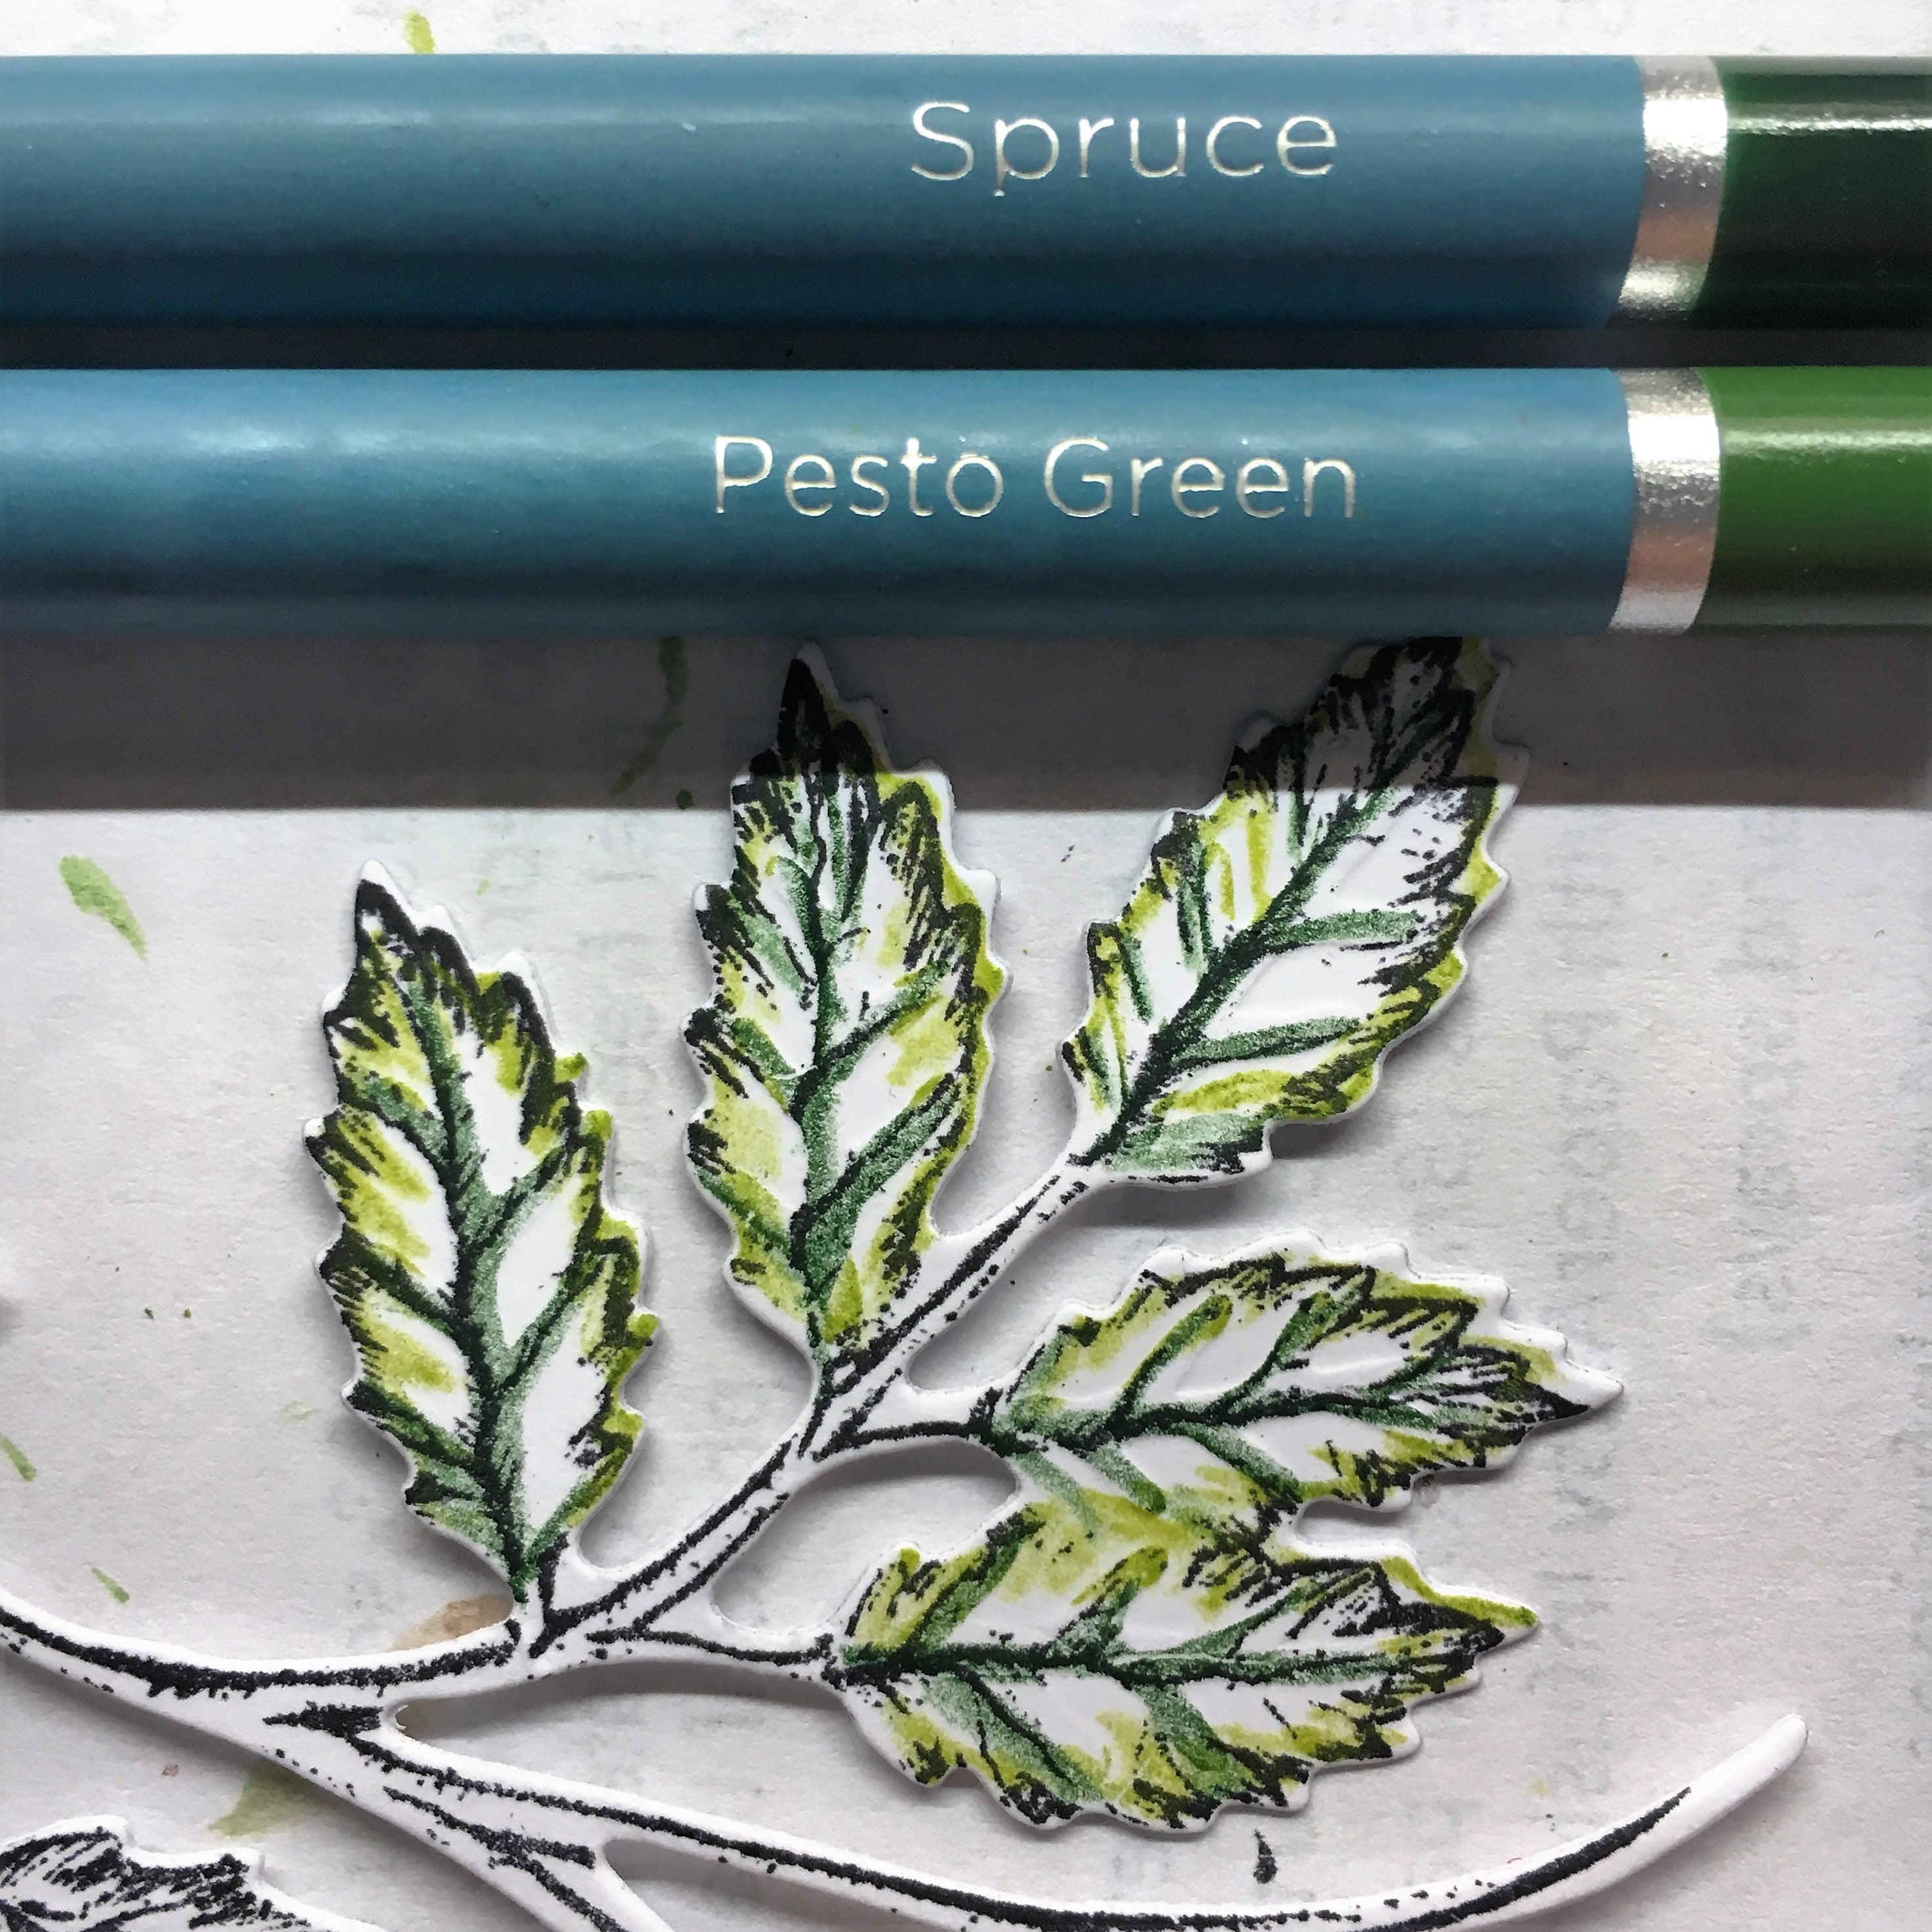
Step 3: To colour start with the leaves and run a line of the darker green, Spruce, (naturals set) down the centre and veins of the leaves then added Pesto Green around the edge. With a water brush swirl the two together to mix but don’t overwork it. This gives a variegated effect. As the stamps have a cross-hatched dark areas the shading is mostly done for you. It’s also not imperative that the stamp and die match perfectly as you go over the edges.

Step 4: The branches are coloured with thin lines of Brunette and Bison in the same way.

Step 5: For the blooms, use the smaller Rose from the Wild Rose Briar set and also the flower from An Apple a day collection.
Step 6: Start in the centre with little flicks out using Papaya (Floral Collection) then drag out towards the edge with a water brush. Try to work on several flowers at a time. Next add some Rose to the outside edge and pull towards the centre allowing the colours to overlap. The pigment in the pencils is such good quality that a little goes a long way.
Step 7: To create the finished card, take a piece of Linen effect white card, A4, score and fold in half, then cut to 14cm square. Create a matt with the same card 13cm square and ink the edges with Black Soot Distress Ink. Add to the base card.

Step 8: Use Collall 3D Glue Gel to ahere the leaves to raise the branch, place onto the matt. I have added and extra cluster too.

Step 9: Shape the petals of your flowers by rolling over a round pencil or pokey tool and place on the branch. Add gems to the centres with Tacky Glue and an extra leaf to hide the end of the branch.
Step 10: Stamp the sentiment onto the left over linen effect card and trim to fit (approx 8 x 3.5cm) ink the edges and add bottom right.
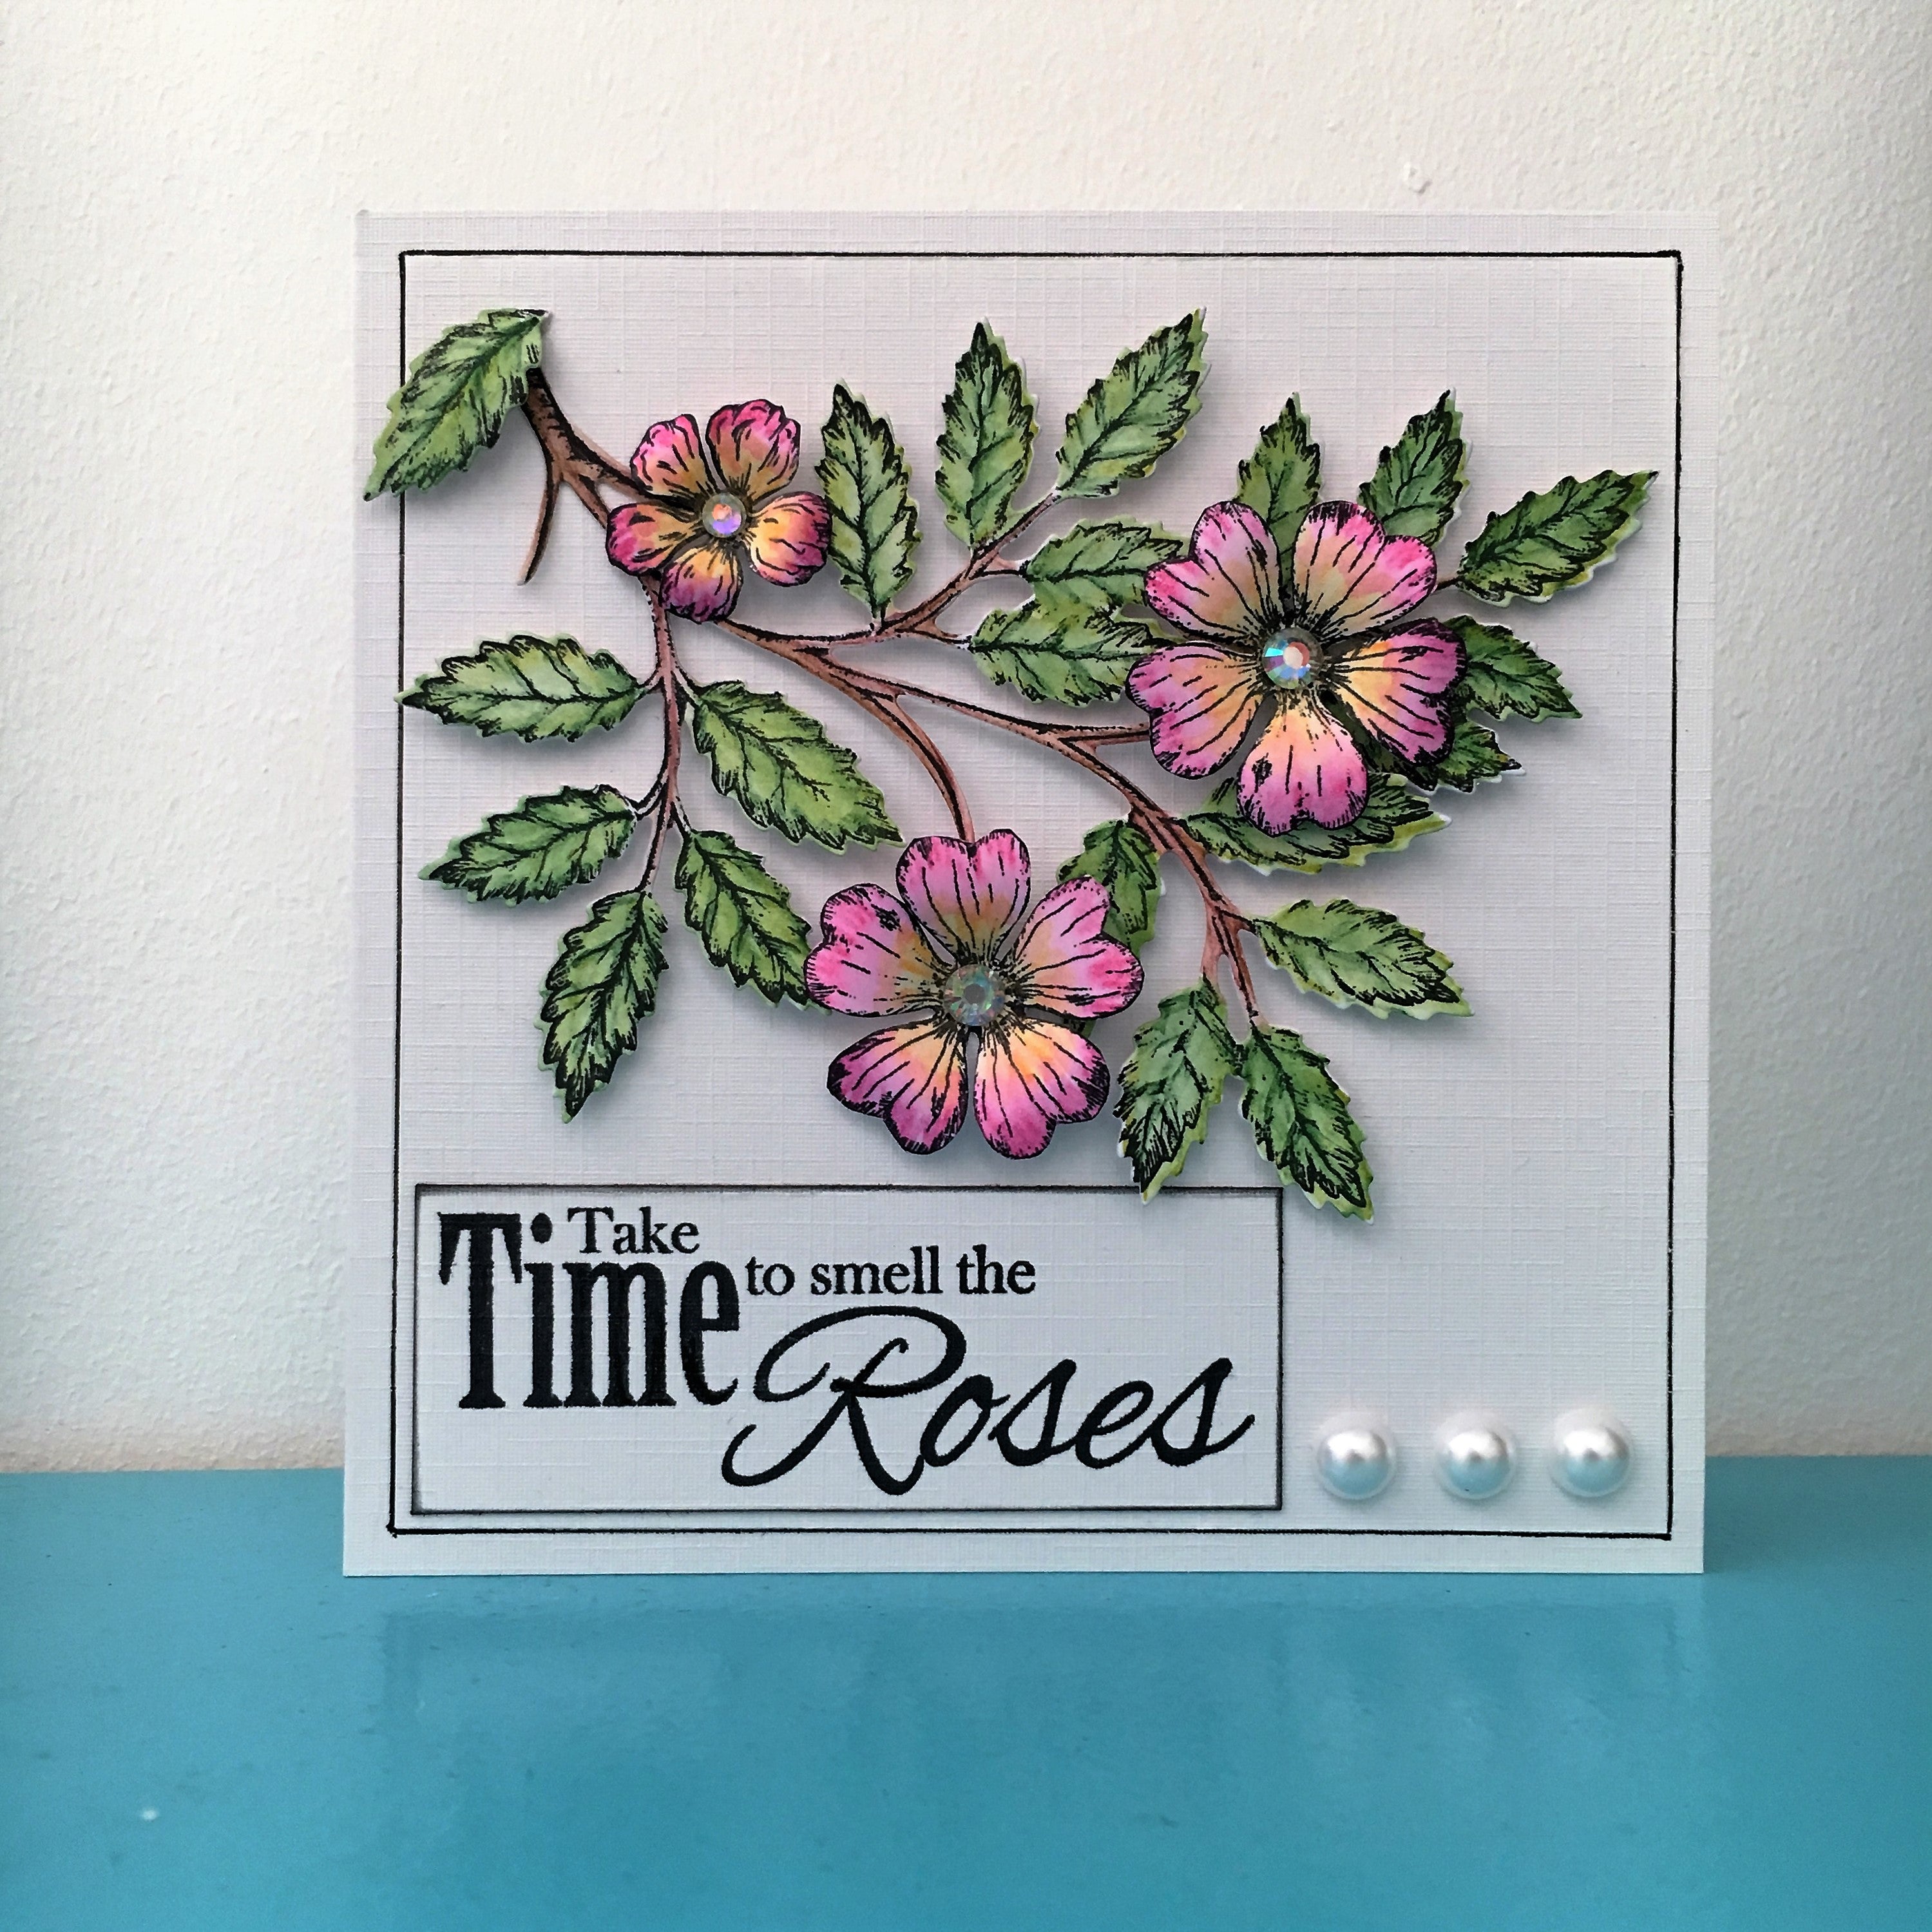
Step 11: Finish with some pearls.
Crafter’s Companion Supplies:
Other Supplies: Pearls and Archival Ink
Other Supplies: Destinations Paper Pad, Destinations Life is a Journey Stamp Set, String and Pearls if Required.
We would love to see what you make! Share your projects and cards with us on our Facebook page, tag us Instagram (#crafterscompanion), on Pinterest (@CraftersCompUK) or on Twitter (@CraftersCompUK)!