NEW! Sheena Technique using Pebeo Gesso and Dyna Paints
- Read time: 2 minutes
- Written by: CraftersCompanion
We’re well into our amazing Sheena Week offer and we’re so excited to show you this new technique. One of our amazing collegues, Julia Gailes prepped this tutorial for us and we have a sneaky suspicion this is a technique nobody has tried before. So hats off to you Julia! Now let’s get messy!
What you’ll need:
Extas:
Black Embossing Powder
Scissors
Paintbrushes
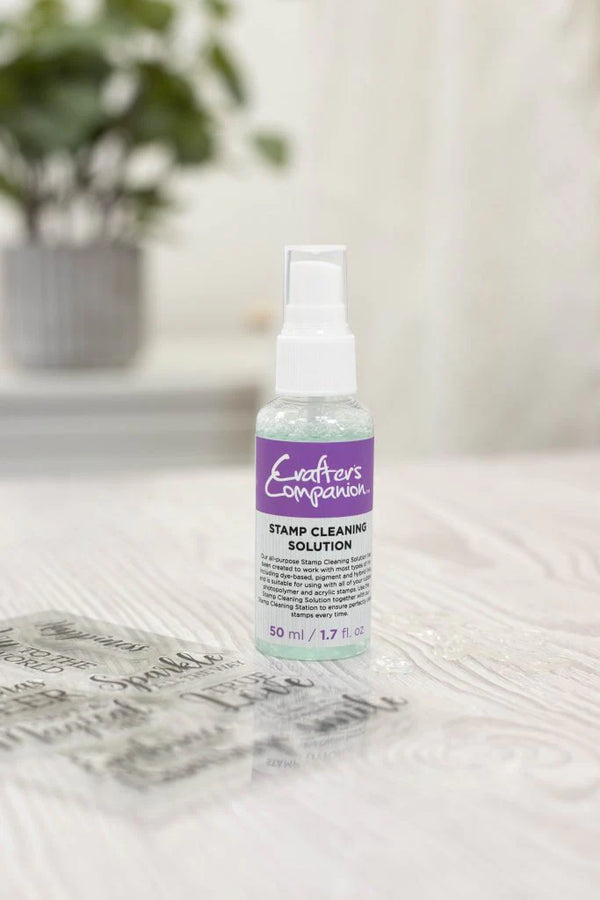
Sticky foam pads
Step 1:
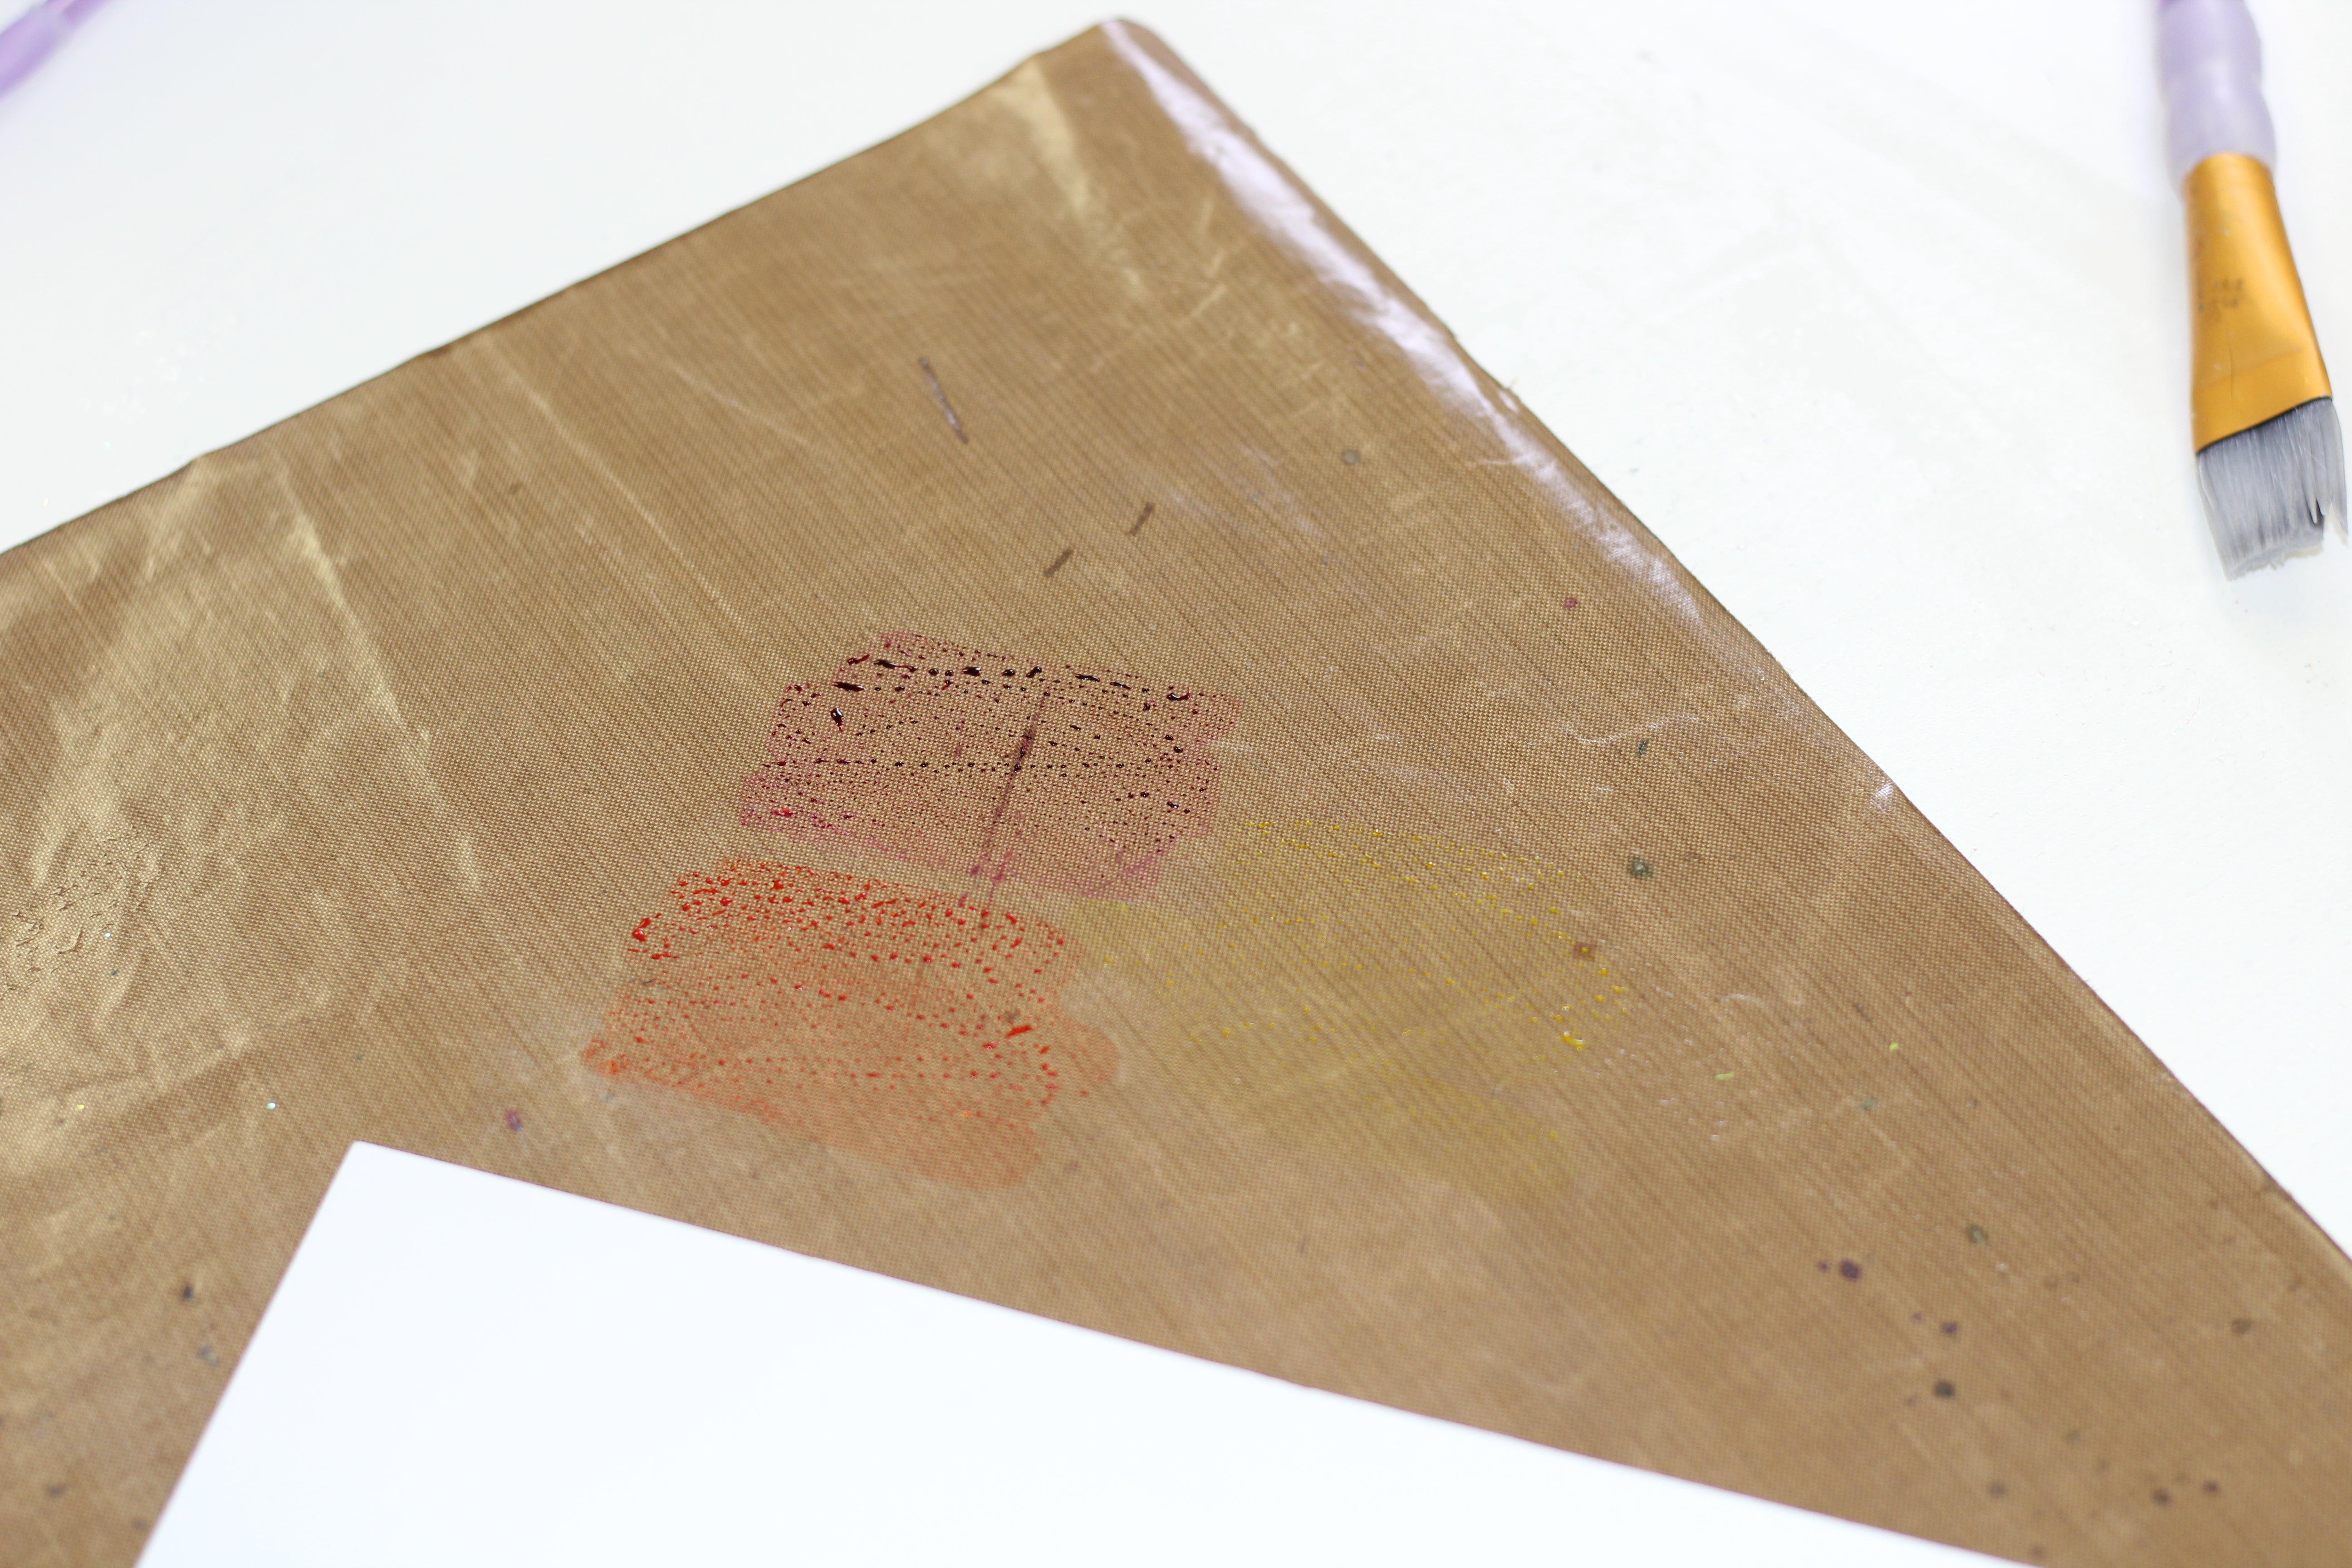
Scribble your sparkle pens onto your craft mat in a random splodge. Pour some Gesso onto your mat (about a tsp) and add water to it with a large paint brush. Then, dab the Gesso onto your areas of sparkle pen. Continue to dab but not too muc otherwise you will end up with a muddy mess.
Place an A5 peice of Sheena card over the top of the paint and press firmly, running your finger arouns the edges. Pull your card away – there should be some texture. Dry with your heat gun.

Step 2:
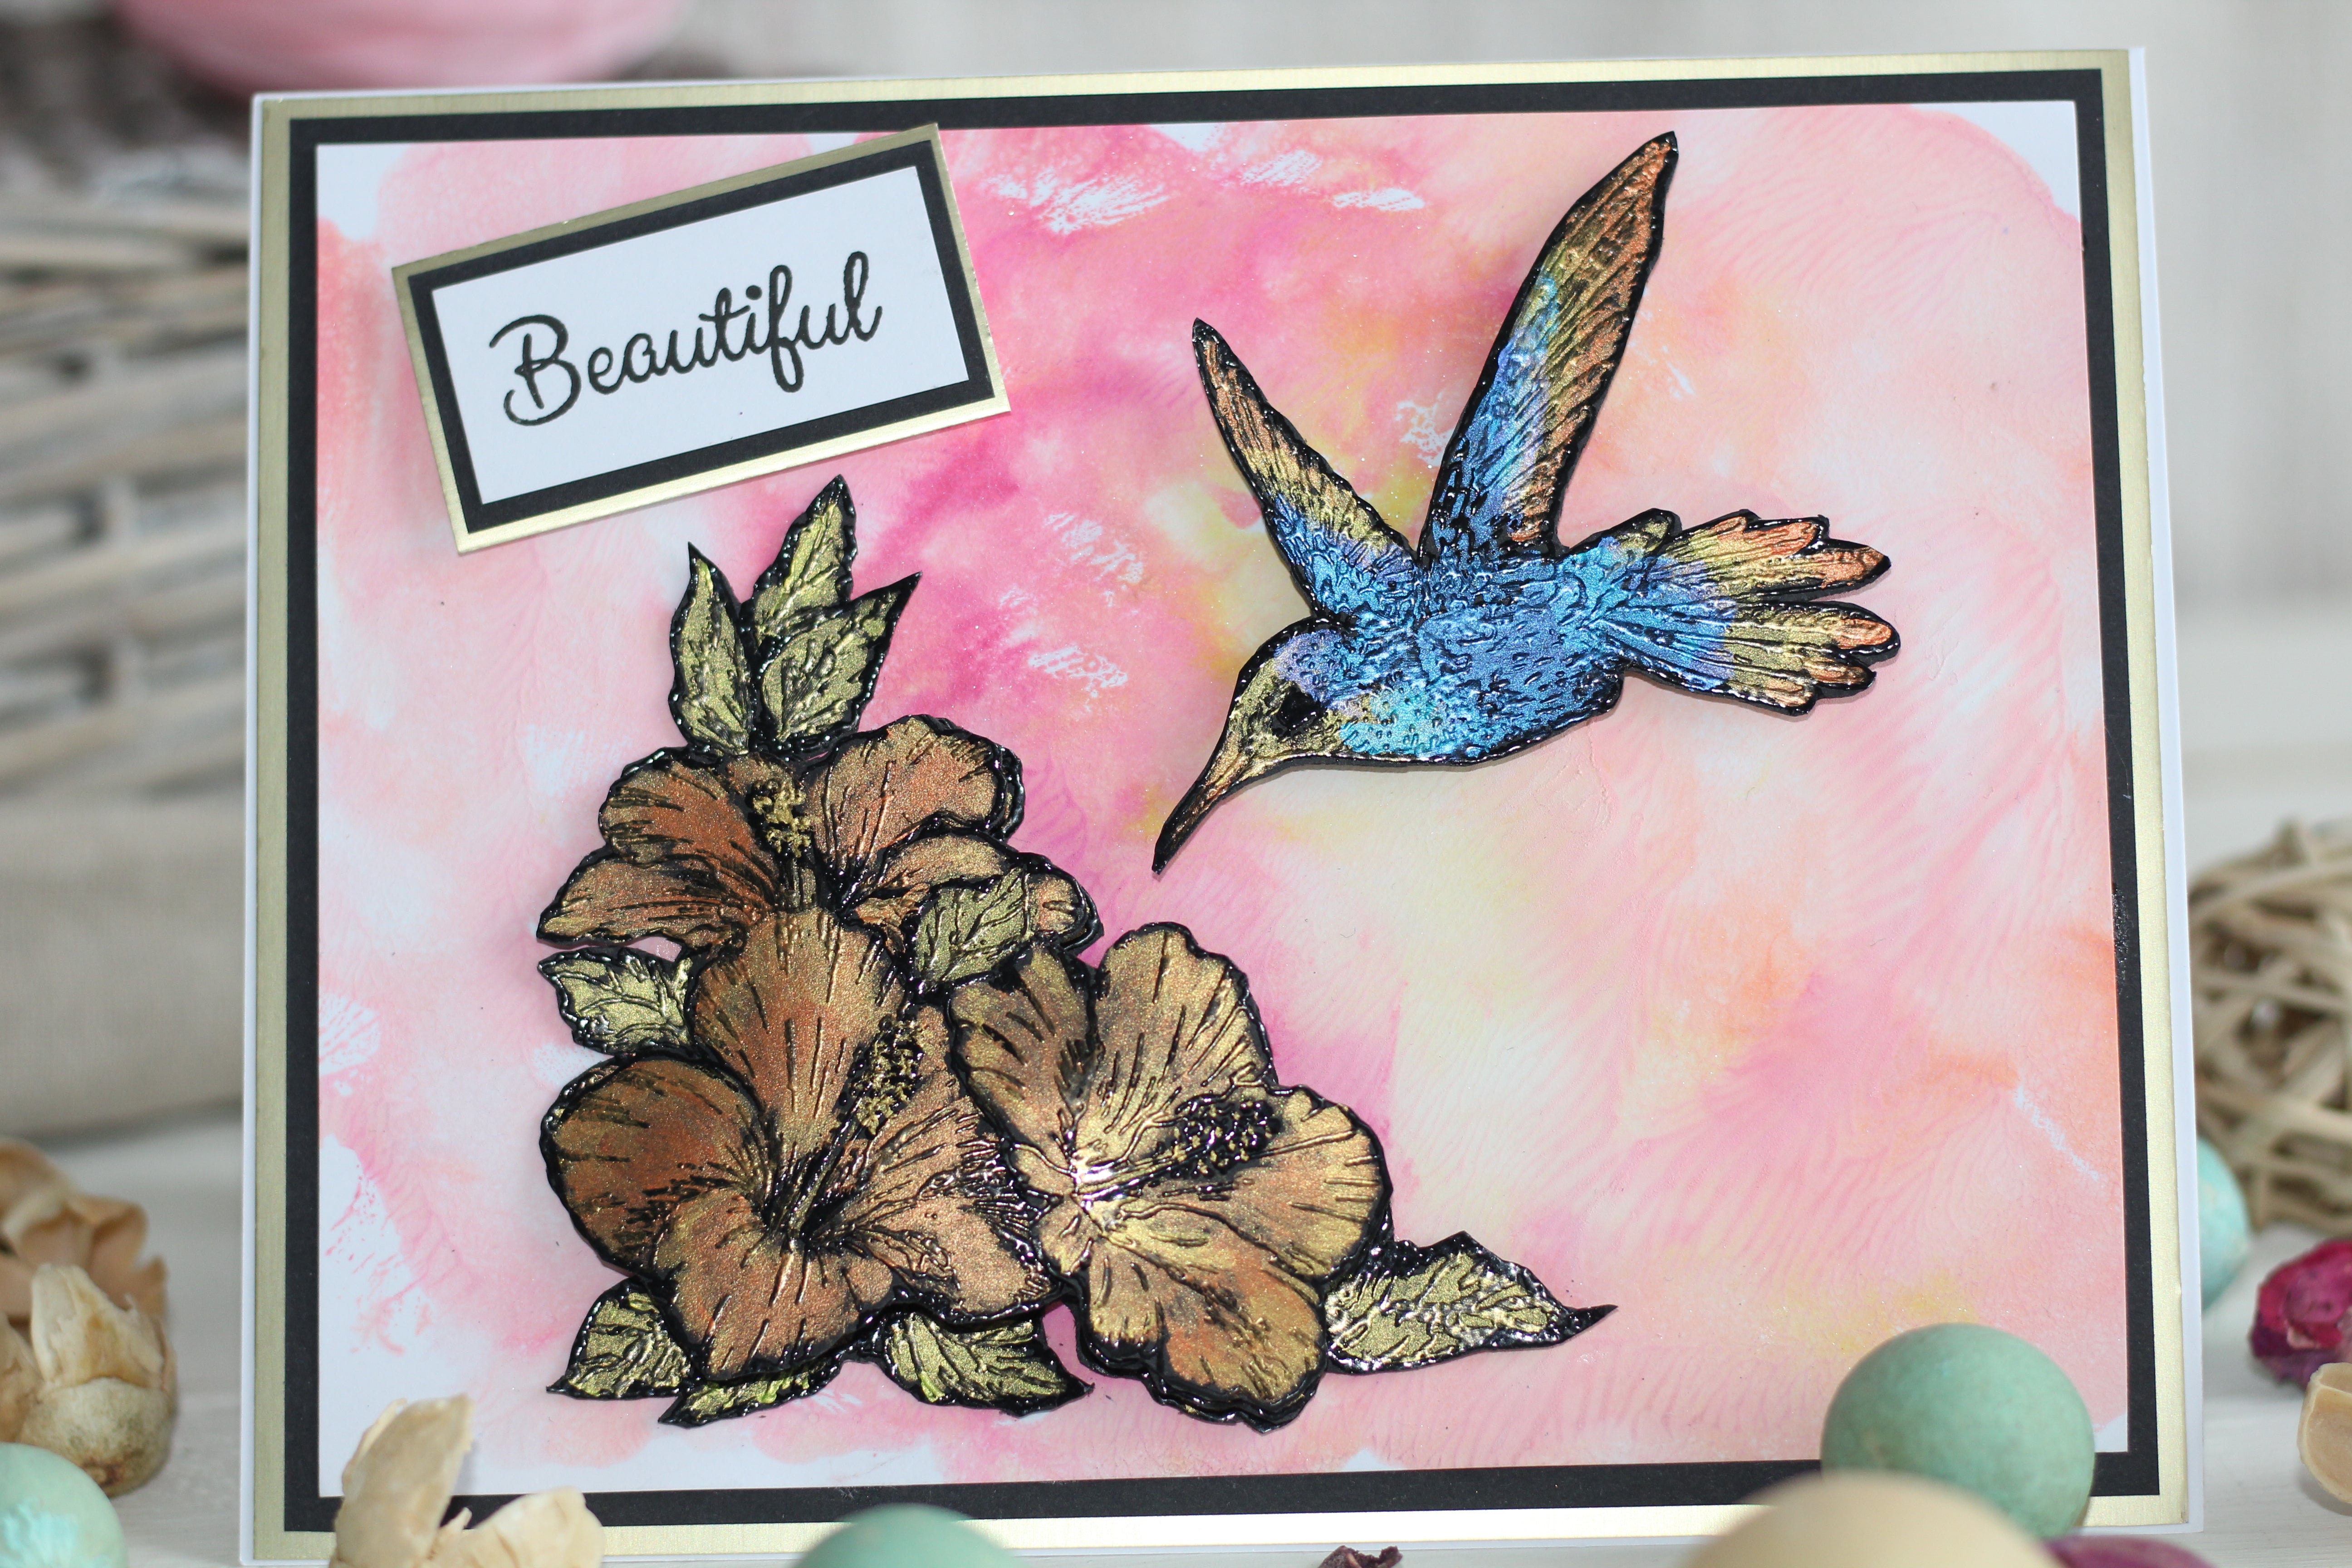
Using your black card, versafine ink and black embossing powder, stamp the flowers from the stamp and heat set the same image 3 times. Then, stamp and heat emboss the hummingbird just once.

Step 3:
Colour your hummingbird and flowers with your dyna paints using a damp paintbrush. These flowers will be decoupaged so you can colour parts of your flowers if you wish. When dry, carefully cut around the images with your scissors.


Step 4:
Use your 3D glue gel to decoupage the flowers. Cut the hummingbird out. Glue your flowers into position on your bacground and add sticky foam pads to the back of the bird to riase it off the card. Add a sentiment which has been matt and layered, then do the same with the card topper, sticking it onto an A5 card base and then trimming to size.
We hope you have enjoyed our tutorial as much as we have! We can’t wait to give this a go! Don’t forget to share your makes with us! If you’re wanting to shop any more amazing Sheena Douglass products – don’t miss out on all of the exclusive offers we have this week – here!
Crafty hugs!