How to stencil a Christmas card
- Read time: 2 minutes
- Written by: Crafters
Have fun with colour to stencil a Christmas card with our handy how-to guide! Stencilling is an accessible and versatile craft technique that’s perfect for makers and crafters of all abilities.
We’ve used the Celebrate the Season collection of to create this beautiful Christmas card! With
co-ordinating dies, stamps and stencils, this range takes all of the tricky bits out so you can focus on getting creative with inkpads to make something special.

You will need:
- Celebrate the Season Collection
- Yuletide Bauble Stencil
- Yuletide Bauble Die
- Festive Birds Stamp Set
- Gemini 5″ x 7″ Mat and Layer Dies
- Spectrum Noir TriBlend Markers
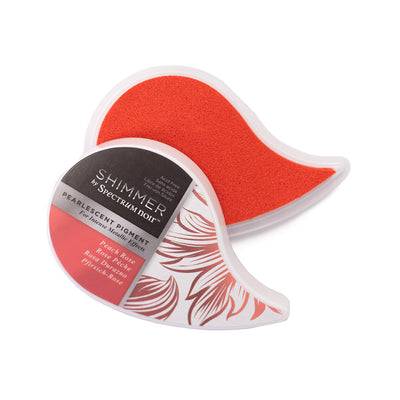
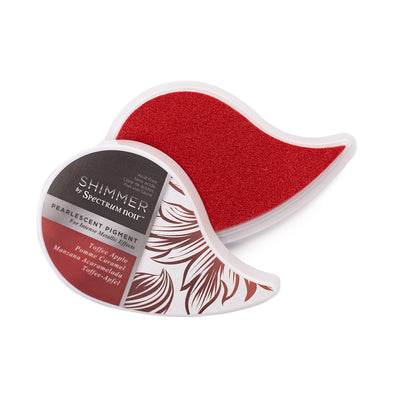
- Spectrum Noir Harmony Water Reactive Inkpads
- Spectrum Noir Harmony Quick Dry Inkpad – Seal Brown
- Spectrum Noir Finesse Alcohol Proof Inkpad – Rustic Brown
- Spectrum Noir Glossy Highlights
- Spectrum Noir Mask-It Tape
- 12″ x 12 patterned paper pad
- Multi-purpose card
- Red card
- Acetate
- Red-liner tape – 6mm
- Foam pads – 3mm
- Collall All-Purpose Glue
- Crafter’s Companion Stick and Spray
- Gemini Die Cutting Machine
Step-by-step instructions
Card base

- Cut out a card base from multi-purpose card to measure 5 1/2″ x 7 1/2″.
- Use the Gemini Mat and Layer Dies to cut an aperture into the centre of your card front.
- Layer a sheet of acetate behind.
- Cut red card to 5 ¼” x 7 ¼” and patterned paper to 5” x 7”.
- Glue together and die-cut rectangle aperture (same size as aperture in card base) into centre.
- Glue onto front of card base.
- Cut a 5 1/4″ x 7 1/4″ piece of patterned paper and attach to the inside of the card base.
Stencilled centrepiece
- Die cut the Yule Tide Bauble shape from multi-purpose card
- Use Stick and Spray to attach the Yuletide Bauble stencil onto your die-cut shape.

- Use Water Reactive Inkpads to apply colour through the stencil.
- Use the Mask-It tape to protect different areas as you apply the different colours of ink.
- Use the Alcohol-Proof Inkpad to stamp the robin design from the Festive Birds set into the centre of the bauble.
- Colour in using TriBlend markers and apply Glossy Highlights to the red berries
- Use foam pads to attach your Yuletide Bauble centrepiece to the centre of the card base.
- Stamp a sentiment onto multi-purpose card, ink the edges with the Ocean Blue inkpad, layer onto a piece of red card measuring 1/4″ larger and attach to your card using foam pads.

We can’t wait to see your finished makes! So, don’t forget to show us your Christmas craft creations on Facebook UK, Facebook USA, Twitter, Instagram UK, Instagram US, Pinterest UK or Pinterest US using the hashtag #crafterscompanion
