The Ultimate Guide to Inkpads and Stamping
|
|
Time to read 6 min
|
|
Time to read 6 min
Stamping is an amazing craft technique, and has been loved by crafters of all ages and abilities for centuries! Nowadays there are so many different kinds of inkpads and stamps available it’s easy to become overwhelmed by the sheer choice!
That’s why we’ve come up with this handy guide to inkpads and stamping! Read on to find out ink is best for stamping, colouring and more. It’s time to get colourful!
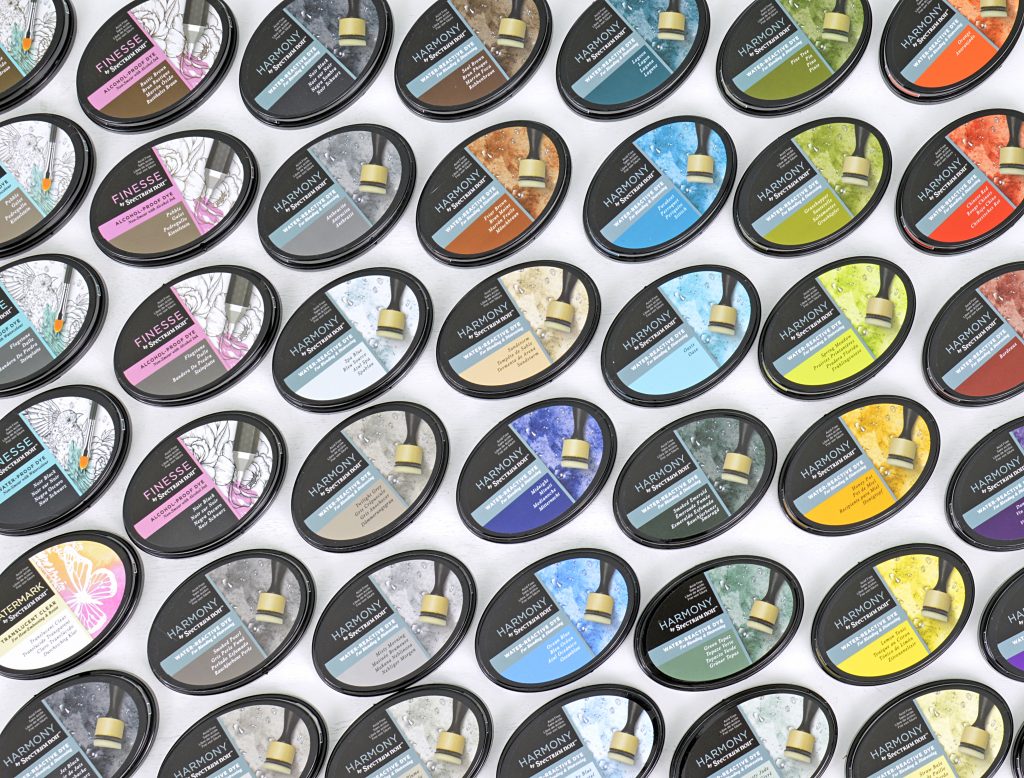
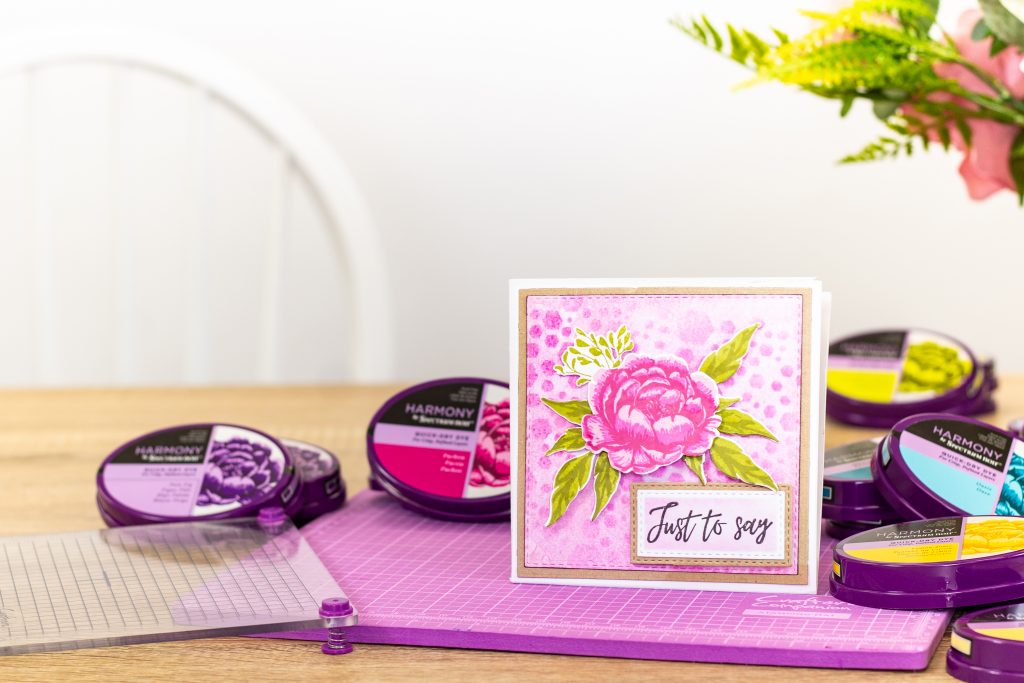
These ink pads do exactly what they say- they dry quickly. In fact, Spectrum Noir Quick Dry Inkpads dry as soon as they touch the paper or card!
This makes them your ideal go-to inkpad for stamping, providing crisp images every time!
Water-based and archival free, the Quick Dry inkpads are also what you’ll need if you’re looking to create a layered stamp effect. There are 36 colours to choose from in the Spectrum Noir Quick Dry Dye range of inkpads,. So you can coordinate and combine an entire rainbow of shades!
Finesse Inkpads from Spectrum Noir are also perfect for stamping crisp, detailed images and sentiments.
These inkpads come in a range of dark tones, perfect for creating stamped outline images and sentiments. And you can choose between Waterproof or Alcohol Proof dyes depending on your chosen colouring medium.
Finesse Waterproof Inkpads have been developed to be coloured using watercolours. The stamped image will stay crisp and smudge free as you add in your chosen shades!
Similarly, Finesse Alcohol Proof Inkpads are designed to create images that won’t smear or smudge when coloured with alcohol markers.
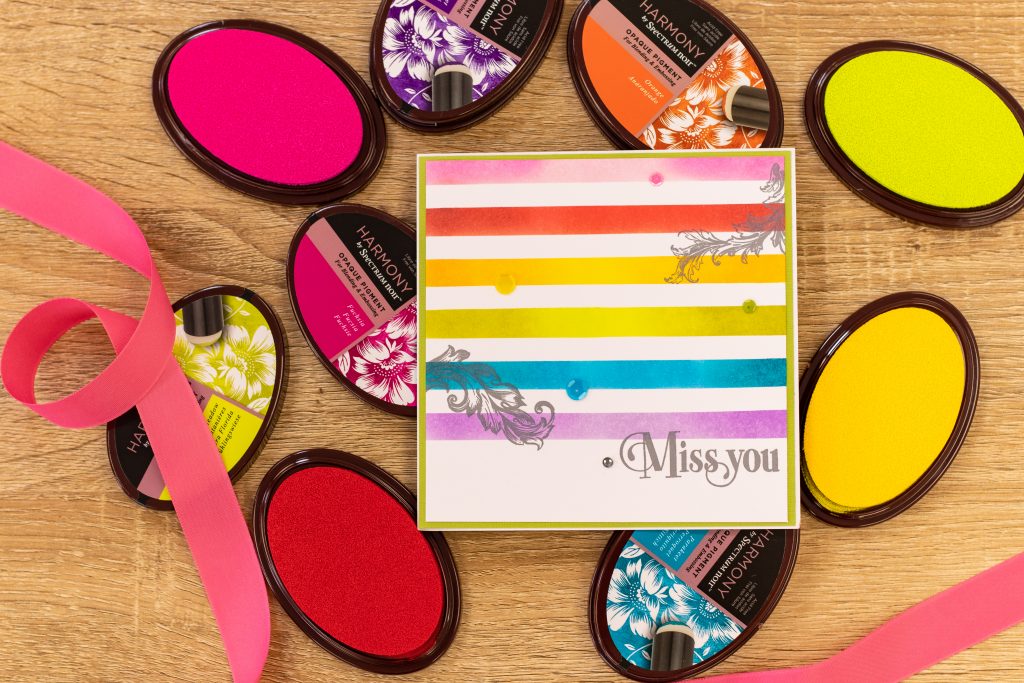
Opaque Pigment Inkpads offer the richest and most sumptuous colours! Spectrum Noir Opaque Pigment Inkpads are made from pigments rather than dye. Pigment molecules are bigger and need a thicker carrier. This means these inkpads are spongier and the ink is more sticky. The colours in pigment inkpads are bright, vibrant and opaque – so they show up well on darker cardstock as well as light.
Pigment ink doesn’t soak into paper like a dye-based ink; instead, it dries on top. That means the ink takes a little longer to dry on uncoated card or paper. Which gives you time to blend and play with colour! It also means that pigment ink will not dry on glossy paper on its own. If you want to stamp pigment ink on glossy paper, you can heat-set it with a heat gun.
Because pigment ink stays wet for so long, it’s perfect for heat embossing . Just add a layer of clear embossing power, when combined with a heat embossing tool this brings the image to life with a beautiful enamel-like finish.
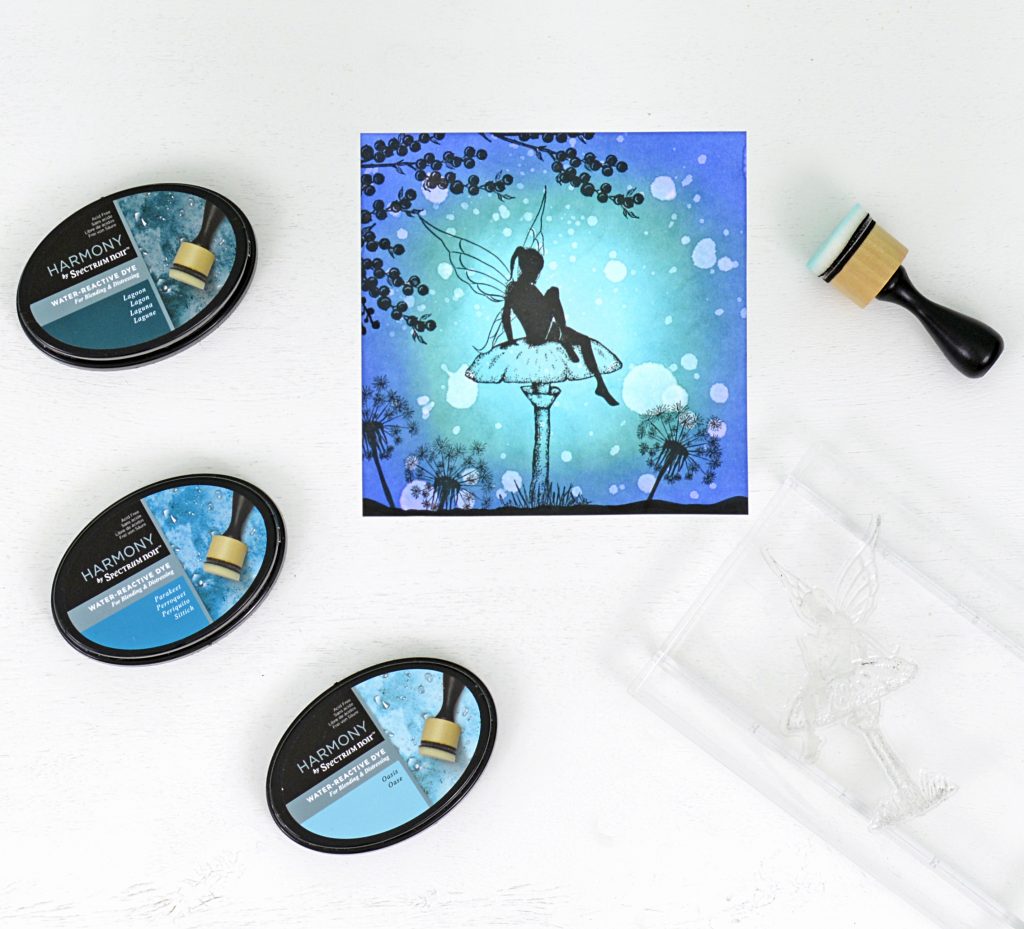
The name is a bit of a giveaway so you’ve probably already guessed correctly that Spectrum Noir Water Reactive Inkpads react with water. This gives them a slow drying time which makes them absolutely perfect for blending, layering colour and diffusing!
You can also experiment with water to create a stunning range of blended distress effects, flick, mist or sprinkle water over your colour and see what you can create!
Water Reactive Inkpads are absolutely perfect for creating backgrounds or adding beautiful blended colours to images. They haven’t been designed to stamp the images themselves, for that it’s best to use Quick Dry or Finesse inks.
What’s life without a bit of sparkle? Midas Metallic Inkpads from Spectrum Noir are pigment inkpads, packed with intense shine, perfect for adding touch of shimmer to your projects.
Each pad is filled with metallic pigment with a generous drying time. So you can create amazing blended effects that really pack a punch!
You can also use these pads to add some metallic detail. Why not apply directly to the edge of your card to create a stunning, shimmering border?
Stamps generally come in three types – rubber, photopolymer and acrylic. We’ve laid out their key attributes below, take a look and see what would suit your craft best!
Acrylic stamps are transparent so you can see through the stamp to line up your image. Acrylic stamps may need priming to prevent beading on first use. Do this by inking and stamping onto scrap paper a few times before stamping your chosen project. Or by first inking with a translucent clear pad.
Photopolymer stamps are also transparent. They have been designed so that the ink sticks to the stamp extremely well – creating a crisp and clean image. These stamps are generally more durable and more robust than acrylic stamps.
Made using high temperatures, rubber stamps are very durable so can be used in more advanced techniques which involve heat.
Once you’ve chosen the right kind of inkpad, and selected your stamp it’s time to crack open the inks and get started! Here are a few tips and tools you can use to make an impression with your stamping.
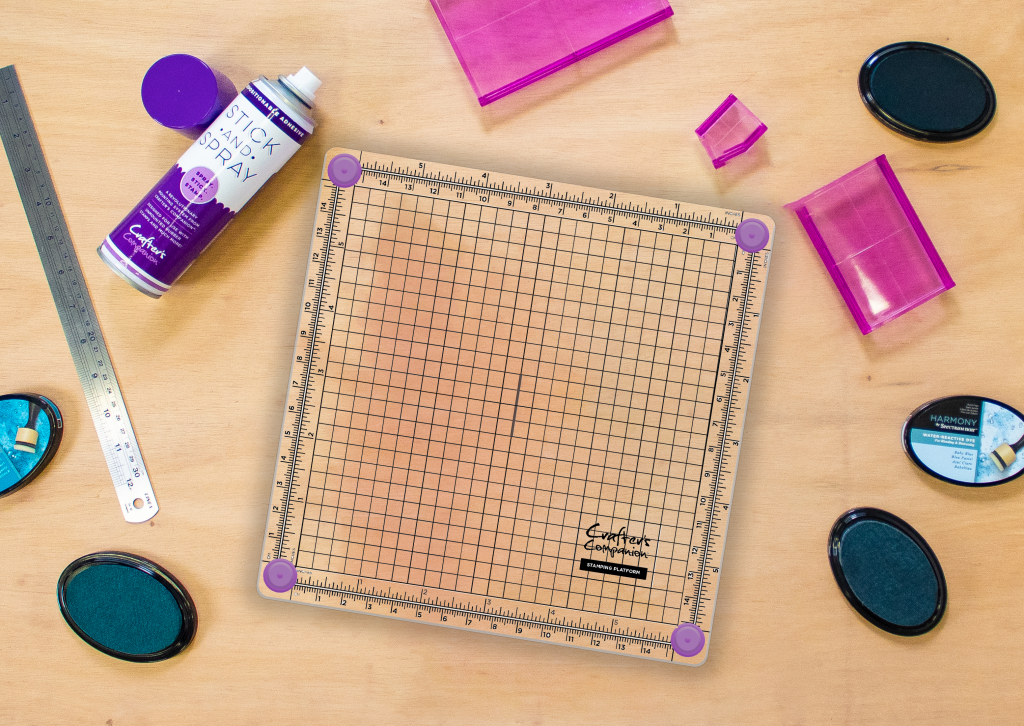
Crafter’s Companion’s Rock-a-Blocks have been specially designed to make sure you apply an even amount of pressure across the stamp every time. This means you don’t get any over inking on your block transferring to your project . All you have to do is use use Stick and Spray Temporary Adhesive Spray to adhere your rubber stamp to the block and apply your ink.
Next, take the Rock-a-Block to the paper, rest it heel down and rock heel to toe and enjoy a crisp and detailed stamp every time!
Stamping Platforms are essential tools for all stampers, and can be used with clear or rubber stamps.
Crafter’s Companion Stamping Platforms come in a variety of sizes and use a ‘spring-loaded foot’ design to push your stamp onto the material below with edge-to-edge pressure!
Each platform includes a measuring grid, so you can ensure perfect placement every time!
For optimal results use with Crafters Companions Professional Stamping Mat.
We talked a lot earlier about blending and layering colours using Water Reactive, Opaque Pigment and Metallic inkpads. So here are a few tools to help you create amazing effects!
These clever tools can be used to apply, layer and blend colour on a whole range of surfaces! The sponge pads have been designed to let the ink sit on top, rather than soak the ink up – so it never gets soggy.
You can choose between Spectrum Noir’s Square or Round Blending Tools – the square will cover a large surface area faster so is perfect for creating backgrounds! And, they’re so easy to use! You don’t need to press down hard, just use the weight of the tool and move in a small circular motion to create beautiful blends!
Compact and dense, blending sponges are ideal for creating a smooth and controlled blend of colour. These are perfect to use alongside the Opaque Pigment and Midas Metallic inkpads to create beautiful effects.
These tools are really versatile and can be used again and again, simply rinse under a tap, squeeze out the excess water and leave to dry.
Water Reactive inkpads are amazingly versatile and can be used to create some truly unique effects. You can use your fingers to flick water onto wet colour – or why not have a go with Spectrum Noir Fine Spray Misters? Simply fill with water and with just a few sprays you can create a different result every time!
If this post has got you thinking about getting colourful with stamps, why not tune into the below episode of The Craft Class on Crafter’s TV to find out even more about inkpads, stamps and how to create amazing effects!
And for a warm welcome to all sorts of craft techniques, join us for more episodes of The Craft Class on Crafter’s TV to unlock your creative potential!
We hope this ultimate guide to inkpads and stamping has answered your questions and helped de-mystify this colourful world! Why not let your creativity take the wheel and start stamping today? Browse our range of Spectrum Noir Inkpads and Crafter’s Companion Stamps and see what takes your eye.
If you’re keen to know more and take a deeper dive into inkpads and stamps, here are some more guides for you to explore!
And if you’re looking for even more stamping hints and tips – then check out this second Craft Class show on Crafter’s TV!
We can’t wait to see your colourful and crisp stamped creations, so make sure you let us know and share your project photos with us on Facebook UK, Facebook USA, Twitter, Instagram UK, Instagram US, Pinterest UK or Pinterest US using the hashtag #crafterscompanion.
Subtotal (0 items) | £0.00
Your bag is empty