Tutorial: Picnic Basket with the Big Score
- Read time: 5 minutes
- Written by: admin
We’re so excited about the fantastic new Big Score large format double-sided scoring board! You will be able to make so many mega-sized projects, like this picnic basket:

Karen Foy made a wonderful tutorial to show you how to make one with your Big Score board!
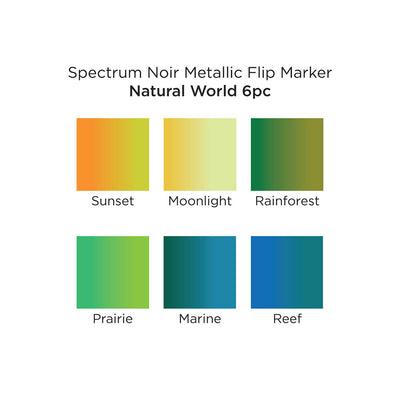
Crafter’s Companion UK supplies:


Other:
Eight Brads to create cantilever mechanism
Directions (all sizes are in inches):

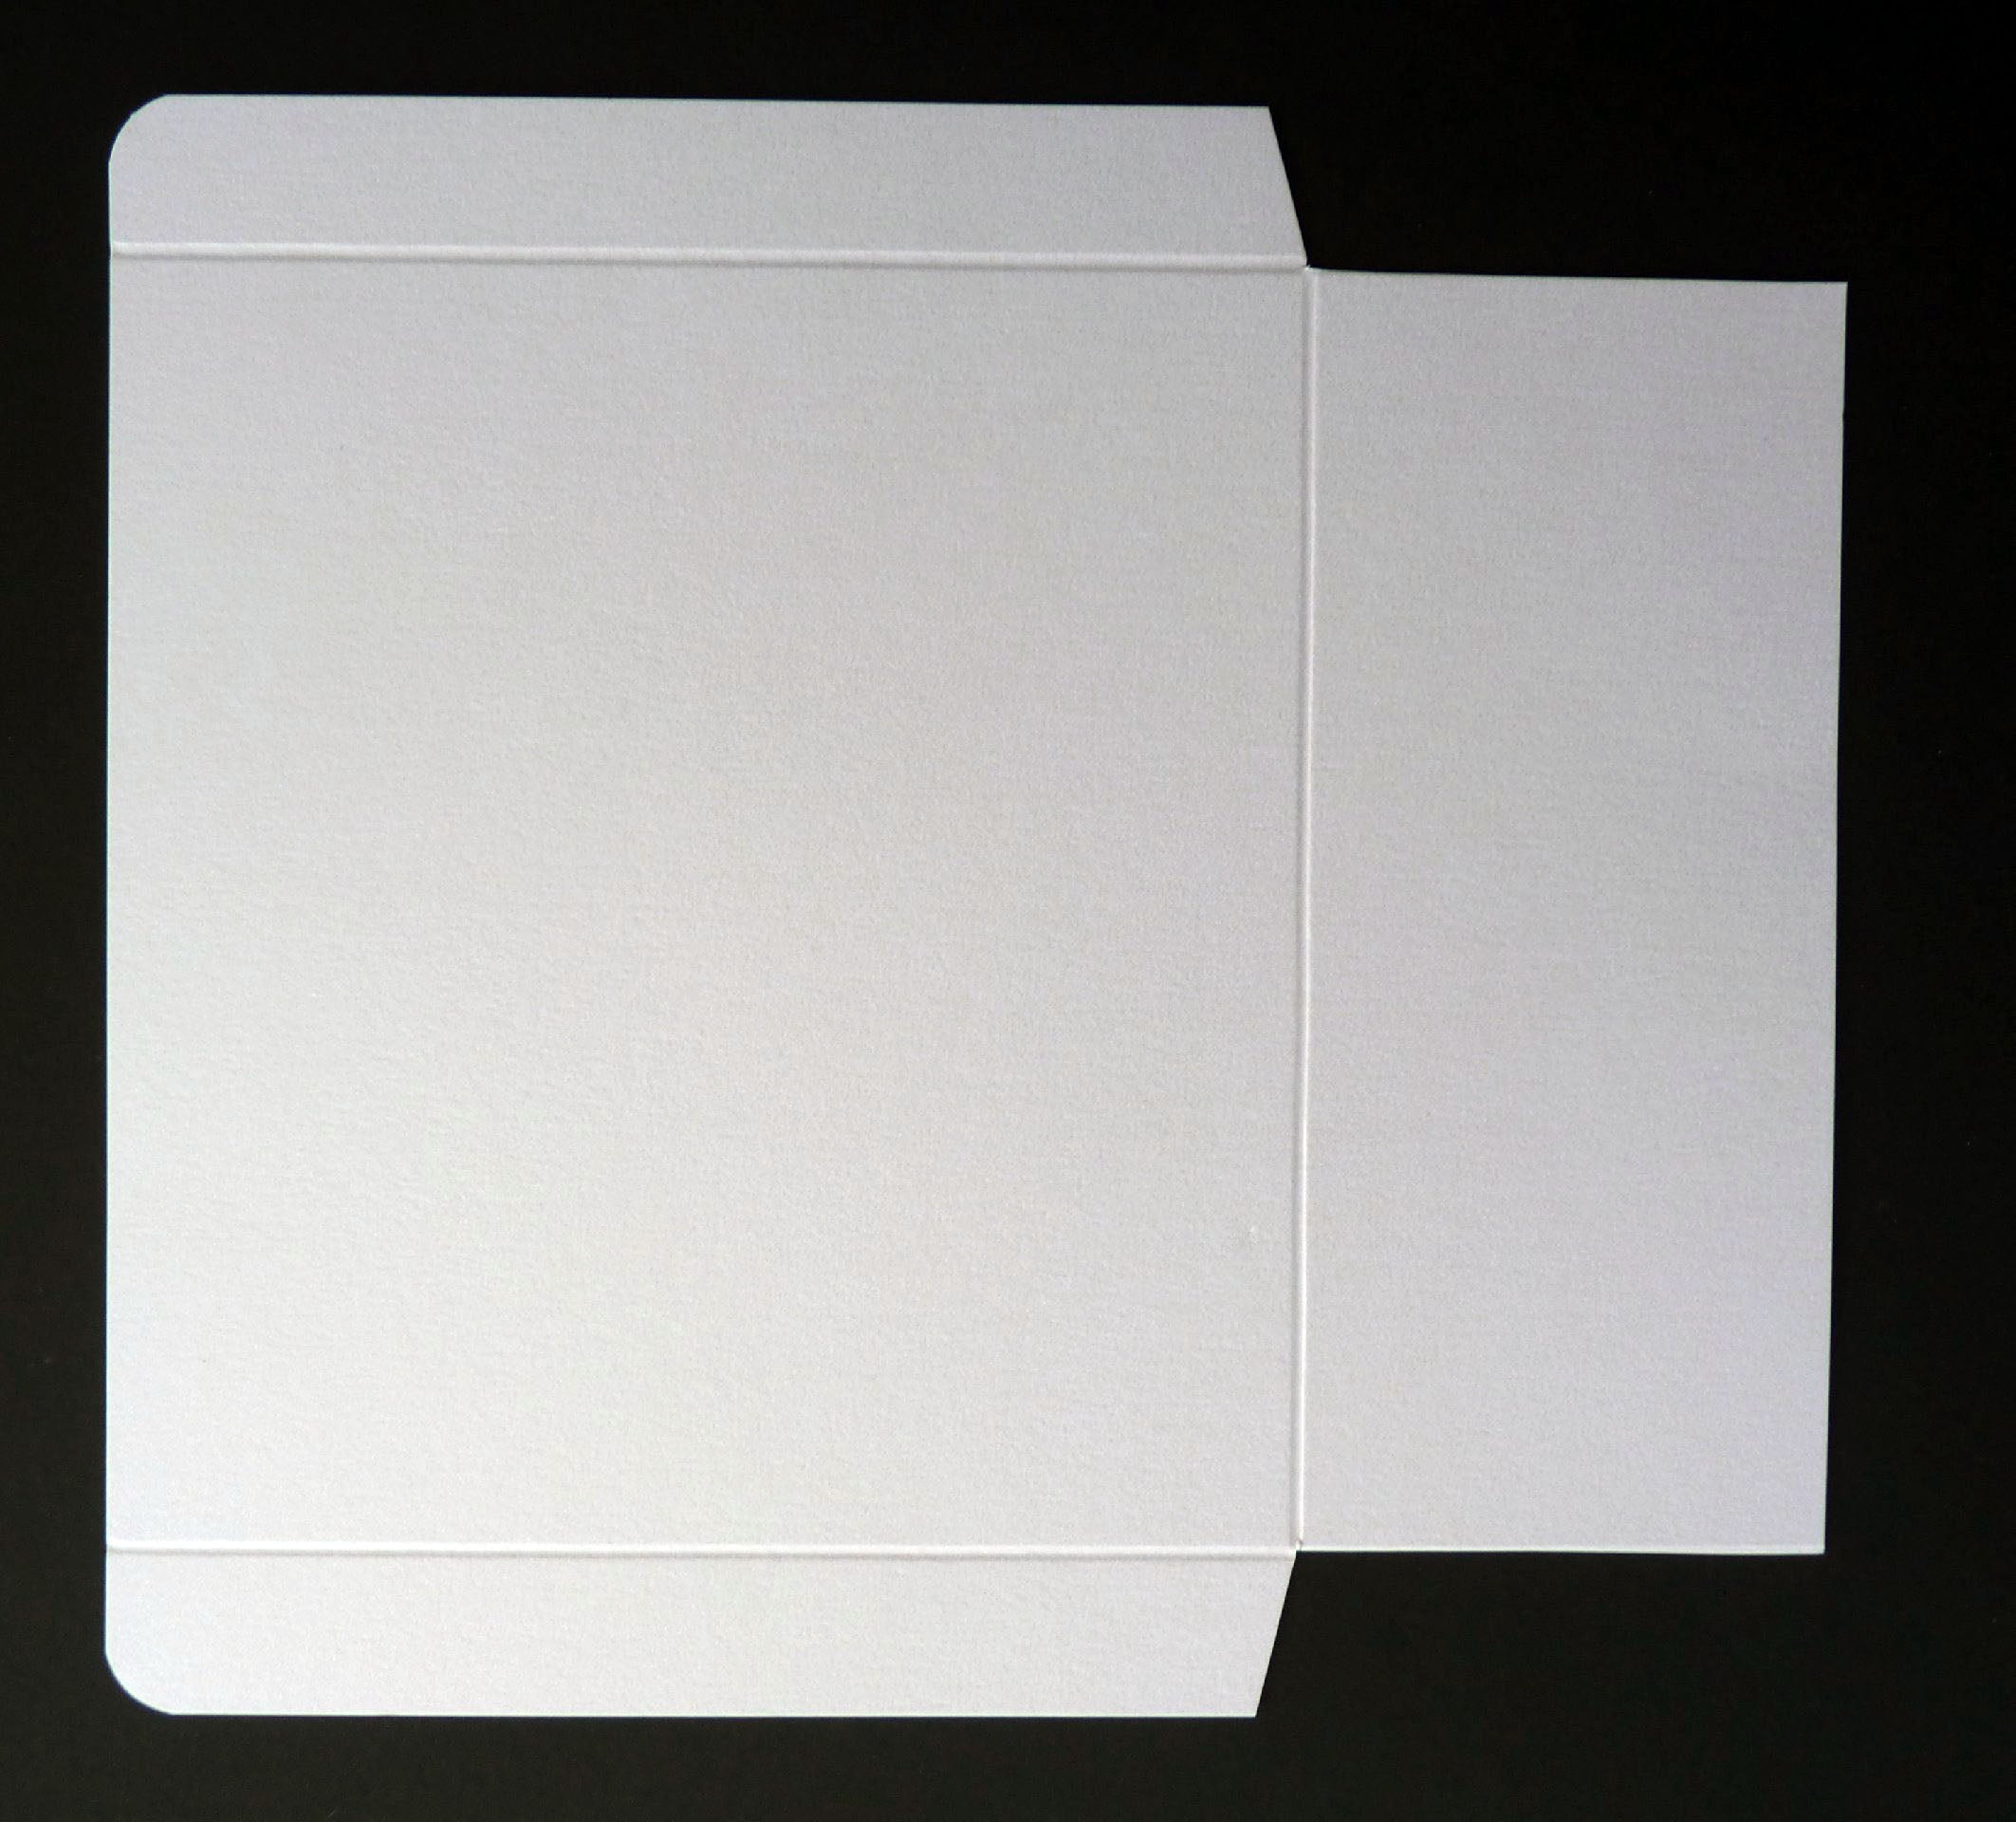
Step 1: Basket Base: Cut card at 11 x 15. On the 11 length, score at 2.5 and 8.5. On the 15 length, score at 2.5 and 12.5.

Step 2: Cut down short score lines to where they intersect to create tabs. Adhere to create box base with red line tape or wet glue.

Step 3: Smaller Basket bases: Cut two pieces of card at 10 x 9. On the 10 length, score at 2 and 8. On the 9 length, score at 2 and 7.

Step 4: Cut down short score lines to where they intersect to create tabs. Adhere to create box base with red line tape or wet glue. You will now have the bases of your basket boxes.
Step 5: Large basket top: (remember this is divided so you will need to make two) Cut card at 7.5 x 7.5 On one length, score at 2.5. On the other length, score at 0.75 and 6.75. Cut away small sections to match the image above.

Step 6: Smaller basket tops: Cut two pieces of card 7.75 x 7.5. On the 7.75 length, score at 2 and at 7. On the 7.5 length, score at 0.75 and 6.75. Repeat cutaway areas as in Step 4.
Remember – on the two smaller basket lids there will be a lip at the front of the lid to allow you to close the basket. There is not a lip on the bottom basket lids as they fit flush up against the handle. On all boxes, attach the lids to the boxes by gluing the back lid panel to the side of the box to create a lifting lid. Use a corner rounder to round all over lapping edges.

Step 7: To make the handle cut a piece of card 5.75 x 15.5. On the longest length, score at 1, 6.75 and 14.5. Fold on the score lines as shown in above– the handle will now be double thickness with two tabs at the bottom to enable you to adhere it to the bottom of your basket between the folding lids of your bottom basket.
Use a punch or die to cut an aperture to create the handle – I used oval dies – then glue both sides together leaving the tabs free to attach to the base of your basket when you are ready to assemble it.

Step 8: To create the mechanism cut 8 pieces of card 0.75 x 5.25. This will make four struts that will be double thickness when glued back to back.
In your base basket with the longest side facing you, make a hole 1.25 inches up from the bottom of the box and 1 inch in from the side on the outer edge. Do this on both sides on the longest sides of your bottom box.
On your smaller baskets, with the shortest length facing you, make one hole on the 1.25 inches from the bottom of the box and 0.75 in from the side on the inner edge.
Make holes in each of the struts 0.75 inches from each end. Add a brad and make sure the boxes all fit together neatly. Adjust the hole alignment if necessary until you have a tight neat fit. Glue two struts back to back to make them stronger – you now have four in total.
Your basket should now look like the image above.

Step 9: The two smaller boxes should pull up and outwards to rest adjacent to the bottom of the basket and allow you to open the bottom basket lids.

Step 10: Decorate your basket, matting and layering coloured card and papers, adding quilled flower embellishments and leaves, a sentiment and gems. Decorate inside if you wish or leave it plain and fill it with goodies!

Top Tip:
Make all elements first and ensure you have a neat fit and everything aligns before you fully assemble. Decorate before you finally assemble the basket.