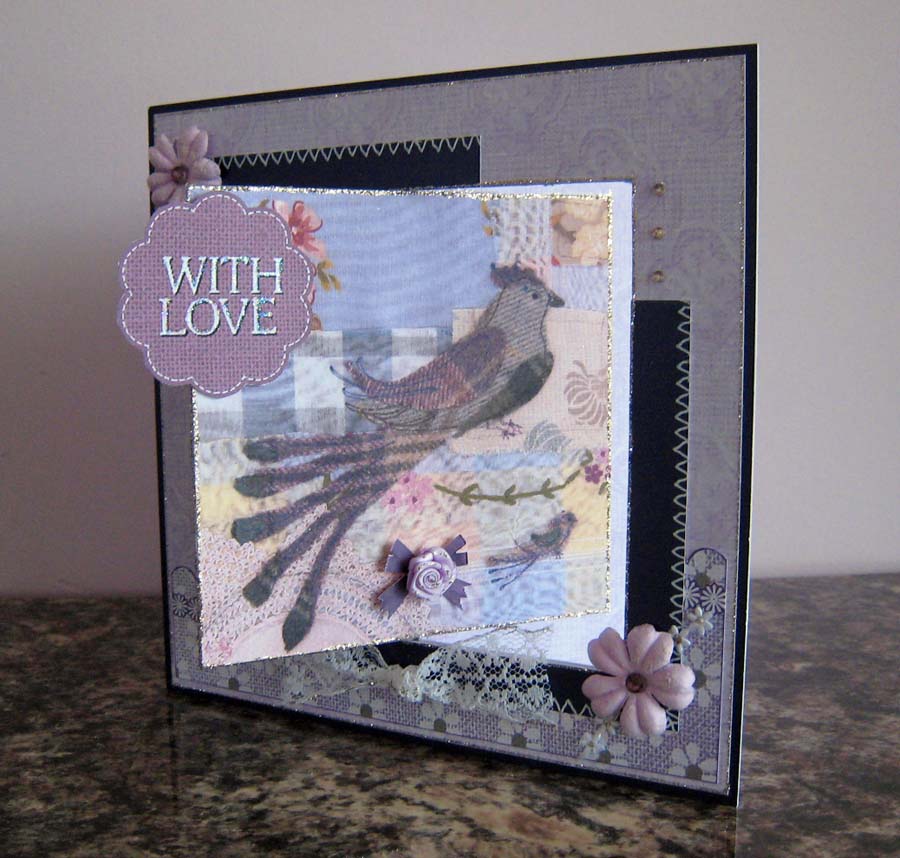
Design team member Kay Carley Wilson has made a fabulous K card with her new Tweedies CD-ROM, and created a tutorial so you can easily make one too!Kay shares: "Not many people know this but the ‘K card’ is actually named after me – I won’t bore you with the details but it is true! So I just had to go ahead and create one of these for you! For this project I thought it would be fun to show how you can create a template which you can then use again so here goes!"Crafter's Companion Supplies:
Step 1: First of all choose your main image. I chose to print out (in the mid size) the bird image from Design 2 of the Toppers section on the Tweedies CD-ROM onto watercolour card and then trimmed it so that it measured 12x12cm. Once I’d got this measurement I decided that it would suit an 18x18cm folded card blank.

Step 2: To make an 18x18cm K card, score an A3 card in half, fold it and then trim it to 18x18cm. Repeat this with another sheet of A3 cardstock so that you have two of these cards.

Step 3: Next take a piece of fairly thick card stock and cut this so that it also measures 18x18cm then diagonally draw lines from corner to corner using a pencil and ruler.

Step 4: Take your image and place it centrally onto the panel ensuring that each of the bird’s corners hit the diagonal lines then draw around it with a pencil.

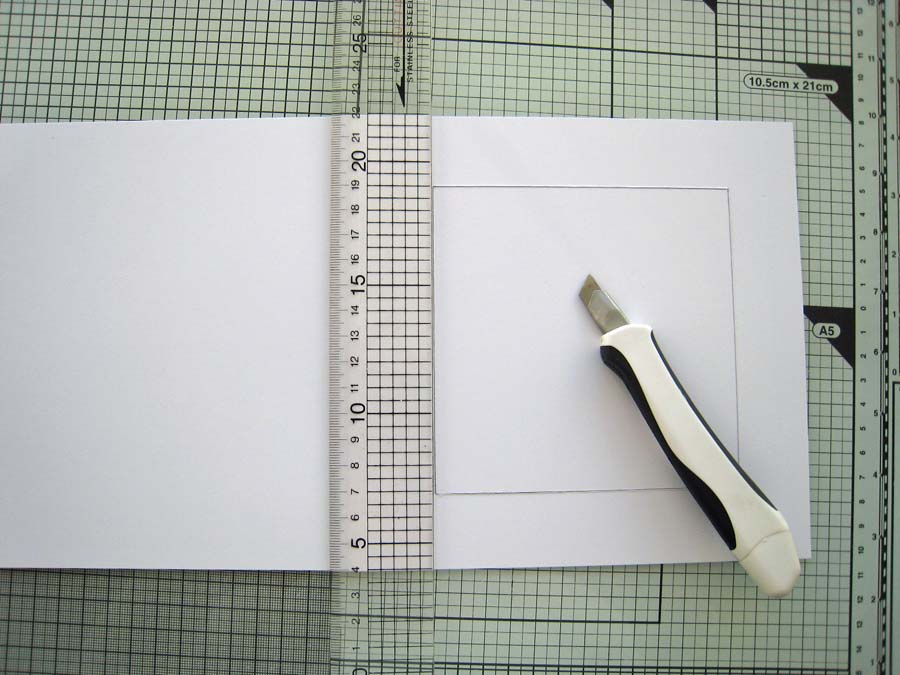
Step 5: Remove the image and cut out the internal square using a steel edge ruler and a craft knife.

Step 6: This now gives you exactly the right size aperture for your image to pop through when creating the K card.

Step 7: Now take your template and place it onto the front of one of your 18x18cm card blanks, ensuring that it is perfectly aligned and mark out the aperture with a pencil. (This will become the outer part of the K card.)

Step 8: Take the other 18x18cm card blank, open it out and then working on the left hand panel (the panel that would normally be the back of a regular card) align the template and again trace around the square with a pencil. (This will become the inner working part of the K card.)

Step 9: Now take this second card blank and place it onto the Big Score with the short edge against the ‘lid scoring’ side and score at 9cm, turn it around and repeat. If you are going to be decorating both sides of the K card then you can score through the marked out square but if you aren’t only score either side of it as shown here.

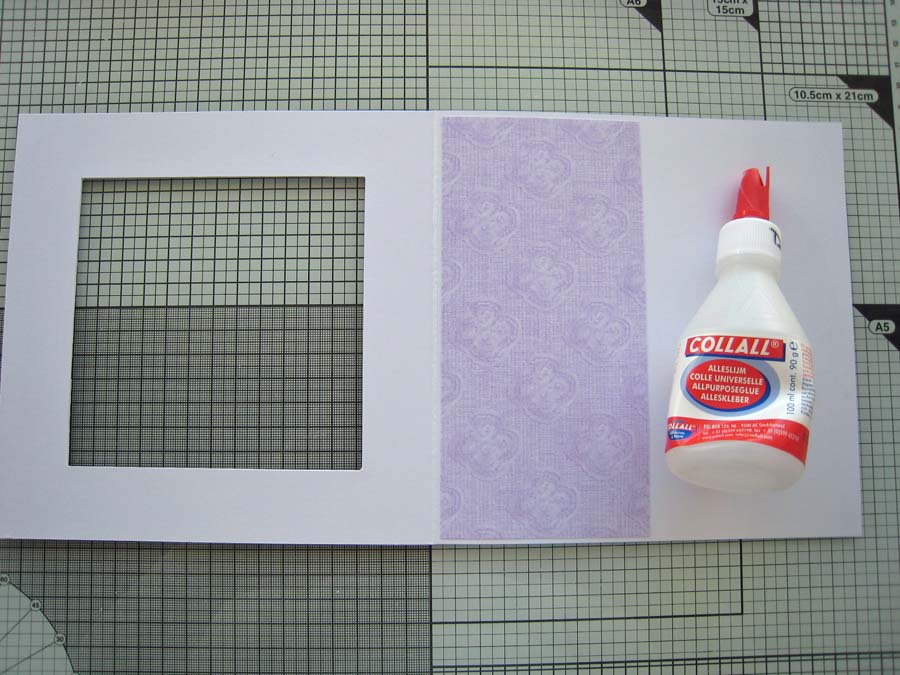
Step 10: Next print out some sections from the CD Rom in order to begin assembling the front decoration of the card – I chose some pretty background paper and one of the borders. Trim the background paper to 17.5cm² and glue to an 18cm² purple Centura panel. Cut out the lilac border and glue into position.

Step 11: Now take your template and align it over this panel. (A good tip when working with a template such as this is to mark which is the top so that when you are tracing around the square it is always the same orientation – just incase there are any deviations.) Mark out the aperture with a pencil.)

Step 12: Using a steel edged ruler and a craft knife carefully cut out the square.
Step 13: Then do the same for the outer part of the K card.

Step 14: Glue the decorated panel to the front of the outer part of the K card.

Step 15: Cut 4 panels from matching background paper (from the Tweedies CD-ROM) measuring 8.5x17.5cm and stick to each panel of the inner part of the K card.

Step 16: If you are going to be positioning a square panel on each side of the square peeking bit of the K card then you can go ahead and crease the panels like this. However if you are going to be leaving the back part of the ‘peeking square’ bit blank do not fold until after step 19.

Step 17: Bring the template back and mark out again the square – just on the first panel.

Step 18: Use these pencil lines to gauge the positioning of the main image and glue into place.

Step 19: Next where you drew the pencil lines on that first panel, cut along them with a craft knife using a steel edged ruler.

Step 20: Your inner K card panel should now look something like this.
Step 21: Cut three more panels from the same design background paper measuring 8.5x17.5cm and glue one of them to the inside back panel of the outer part of the K card.

Step 22: Glue the other two panels to the middle two panels on the back side of the inner part of the K card. Also glue the square piece that was cut out of the decorated panel for the front section in step 12. (This is on the reverse side of the main bird image. This is also the bit that you mustn’t score through if you are not decorating this side of the square as you would then see the score line.)

Step 23: Now cut two panels of purple Centura cardstock to measure 9.5x10.5cm. Place double sided tape on the back of two sides of one of the panels.

Step 24: Use this to stick about 1cm of card to the front of the K card.

Step 25: Working on the inside of the card, trim the excess cardstock away from the aperture using a craft knife.

Step 26: Repeat this with the other panel – this time positioning it in the bottom right corner of the aperture.

Step 27: For some added sparkle apply Platinum glitter glue around the edges of the aperture and around the edges of the main image.

Step 28: And also on the reverse side.

Step 29: Once the glitter glue has dried you can now assemble the K card. Place the outer K card so that the inside is uppermost and then apply glue to the reverse side of the inner left hand panel of the K card. Line it up and stick into position.

Step 30: Then apply glue to the reverse side of the right hand inner panel and stick that into position.

Step 31: Basically the outer part of the K card will be face down and the inner part will be face up.

Step 32: Now all that’s left to do is to add some embellishments using some items from the CD-ROM, a little bit of faux stitching with a white pen and a few flowers etc….

See more of the Tweedies collection: