Tutorial: Art Deco Card
- Read time: 4 minutes
- Written by: CraftersCompanion

Sam has a fabulous card for you to make with the Create-a-Card Decorative Art Deco die in her tutorial below! She also shows you how you can use your Spectrum Noir Sparkle pens to create a stunning background! A great technique you can use on so many other projects too! Lets get started!
Crafter’s Companion Supplies:


Other Supplies: Ribbon, coloured card and pearl embellishment.
Directions:


Step 1: Take a piece of A3 Centura pearl card and cut down to measure 14” x 8 ¾”. Place on your Big Score with the short edge butted up to the left side and score at 3 ½” and 7”. Fold at the score lines before die cutting.


Step 2: Die cut the Art Deco panel into the 2 narrow panels at the front of the card. Make sure to use removable tape to anchor the die in place (remove before embossing) and I found that as the die is very intricate a metal shim helped as the die has to go through the machine width ways. Also make sure to cut the die into the right side of the card so it embosses on the correct side, this means turning the card over when cutting the second panel
Step 3: Because the front panel of the card is plain card when folded back I sprayed it with Pearl Diamond spray to match it with the rest of the card.

Step 4: Cut your coloured mats and watercolour card;
Coloured card – 6 ¾” x 8 ½”, 4 ½” x 6 ½”, 3 3/8” x 8 ½”
Watercolour card – 6 5/8” x 8 3/8”(1), 4 3/8” x 6 3/8 (2), 3 1/8” x 8 3/8” (3) , 3” x 8 ¼” (4)

Step 5: Take watercolour pieces 1, 3 and 4 and make backgrounds as follows. I took Sparkle pens from the Vintage set – Macaroon, Hearthside, Sea Breeze and sage.
Scribble some of each colour onto a palette (or tile or glass/craft mat)

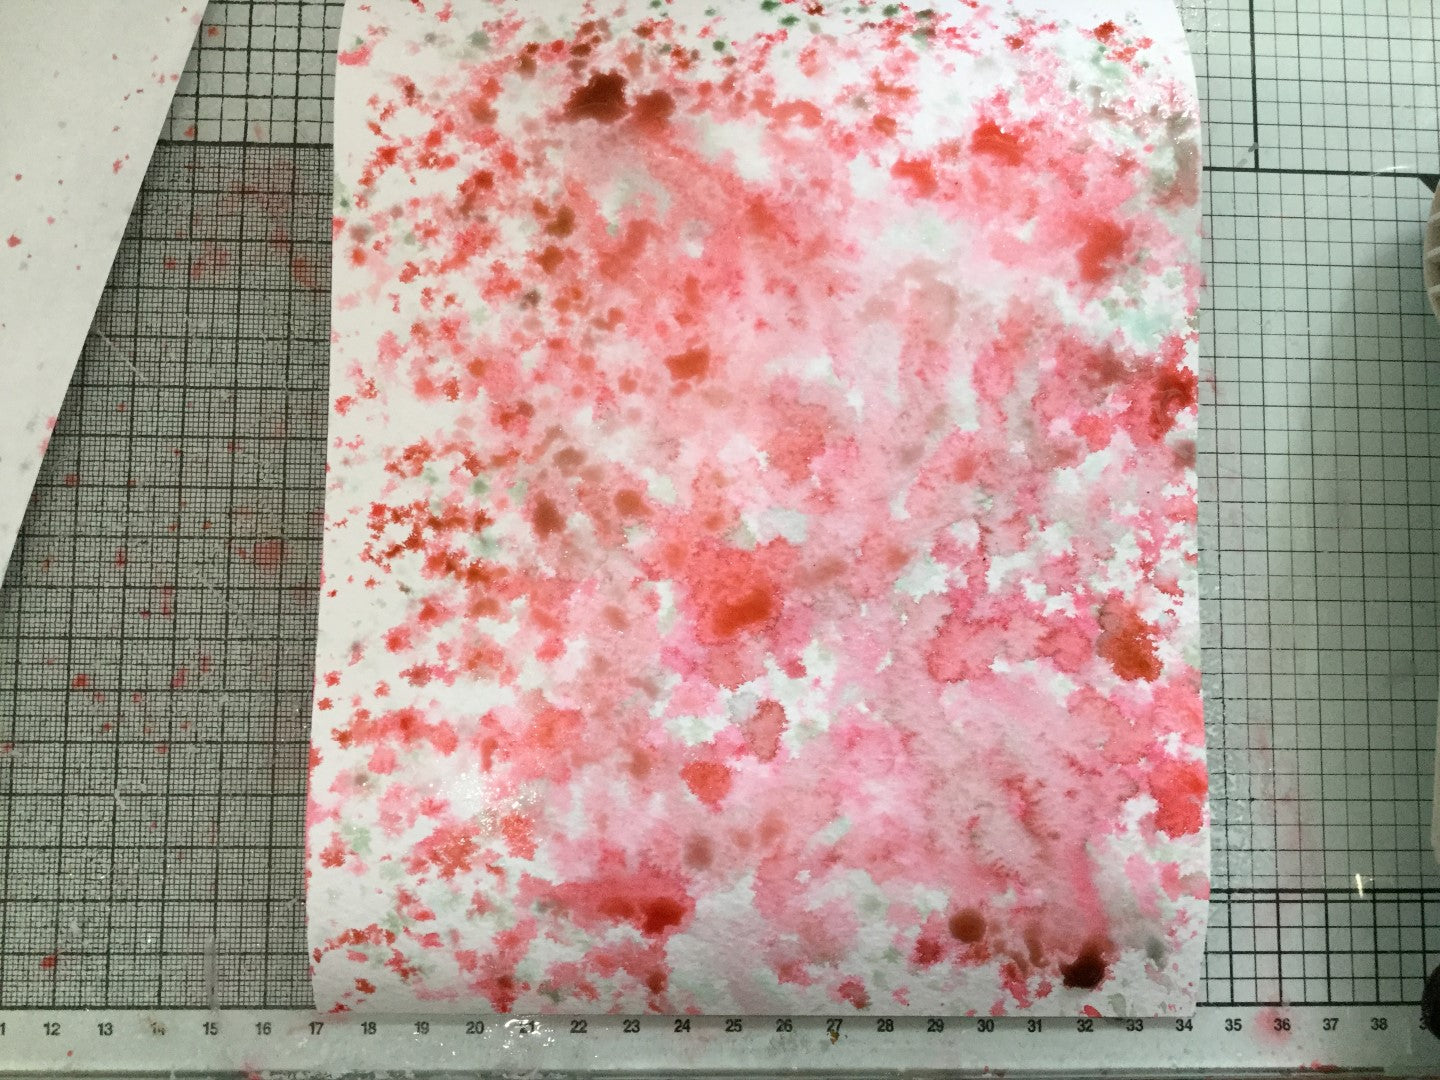

Take one of the above watercolour pieces and spray well with water. Take a large flat brush and wet then pick up some of the Sparkle pen ink from your palette. Hold over your wet card and gently tap with your other hand to ‘splatter’ the ink over the card – the ink will spread as the card is already wet. If it is not feathering as much as you would like you can always spray a little more water onto the card. Repeat with each colour until you are happy with the result and then dry with a heat gun to stop the ink from spreading further. Repeat this process on the other 2 pieces of watercolour card.

Step 6: Take your remaining piece of watercolour card and edge with Sparkle ink. I used Macaroon on a wet baby wipe. Then to break up a large blank space take one of your Sparkle pens (I used Sea Breeze) and blow through the nib over the paper to make a light spattered background.


Step 7: Layer your mats onto your card using Collall glue. Piece 4 lays behind your second die cut panel and then piece 3 on its coloured mat cover the back.

Step 8: Cut out the Be Beautiful prestige die in watercolour card and in your coloured card. As before, blow some Sparkle ink onto the die which is cut with water colour card and then stick to the coloured piece off setting them so it acts like a drop shadow. Stick the piece onto the inside of the card.

Step 9: To finish the card add a ribbon around the fold and tie in a knot. Tie a couple of short pieces over the top of the knot and add a pearl embellishment to complete.
We would love to see what you make! Share your projects and cards with us on our Facebook page, tag us on Instagram (#crafterscompanion), on Pinterest (@CraftersCompUK) or on Twitter (@CraftersCompUK)!