Inspirational Tutorial: Decorate a MDF tissue box using Crafter's Companion elements
- Read time: 2 minutes
- Written by: CraftersCompanion
Create a piece of home decor either for yourself or as a gift. Designer Gemma has had lots of fun playing with Gilding Wax to create this gorgeous tissue box! You could make this in colours to fit in with your home too, just change the papers! Have fun making one too, let’s begin!

Directions:

Step 1: Cover an MDF tissue box blank with book paper, and rub gilding wax around the edges.

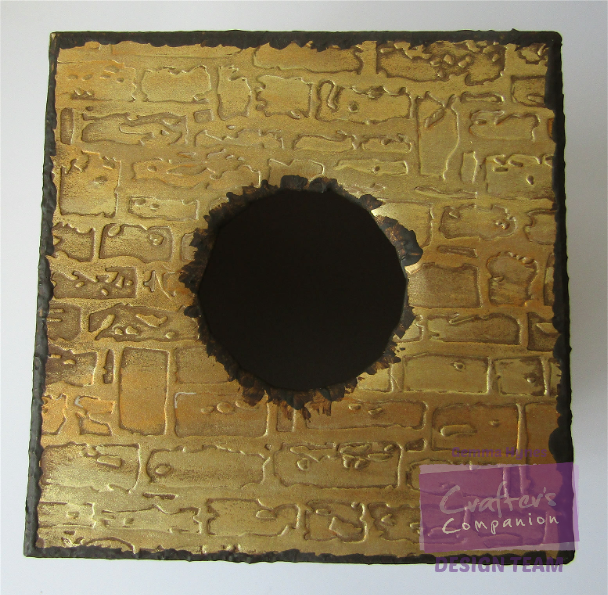
Step 2: Cut five square of card to fit the top and sides of the box, emboss them all using a texture embossing folder.

Step 3: Apply two different gilding wax colours over the card, wiping off the excess with a tissue.

Step 4: Apply some Distress Ink to a craft mat, and using a sponge blend the ink over the top of the gilding wax. The wax will act as a barrier and the ink will only take in some areas.

Step 5: Line up one of the squares with the top of the box, and draw the circle opening onto the card. Then cut slices from the centre of the circle to the edges and tuck then under so the circles match up.
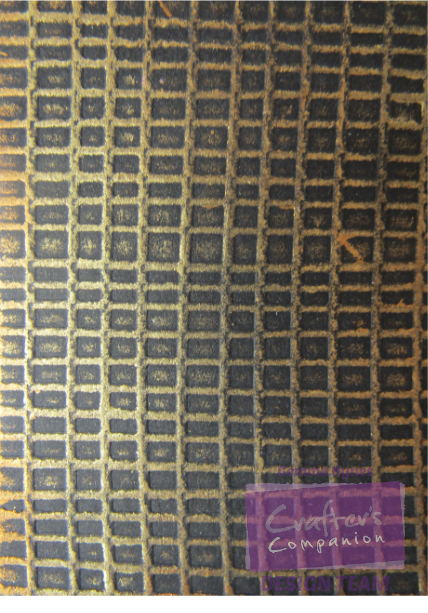
Step 6: Emboss a sheet of black card using a texture embossing folder and rub gilding wax over the top. Only applying a small amount of gilding wax.

Step 7: Die cut several Cogs and Gears using the Just for men Cogs and Gears set.

Step 8: Die cut lots of flowers from book paper. Layer five flowers up with a bead in the middle, scrunch the flowers together to give them dimension.
Step 9: Apply acrylic paint thickly around all the edges of the box.
Step 10: Glue all the cogs and flowers into place, mixing the different sized cogs and flowers together.
Here is a list of what Gemma used to create her project.
Crafter’s Companion supplies:
Other Supplies: Ground Espresso Distress Ink and a MDF tissue box.
We would love to see what you make! Share your projects and cards with us on our Facebook page, tag us on Instagram (#crafterscompanion), on Pinterest (@CraftersCompUK) or on Twitter (@CraftersCompUK)!