Fairy Silhouette Heart Tutorial
- Read time: 4 minutes
- Written by: CraftersCompanion
Hi, this is Rebecca Davies-Sandall and today I’m going to show you a very cool background technique using only 3 Spectrum Noir alcohol pen colours that you can use on all sorts of projects. In this example, I’m creating a beautiful hanging heart using the amazing new fairy stamps by Donna Ratcliff.

You’ll need:
• Stamps by Donna Ratcliff: Magic Garden, Sparkle Garden and Toadstool Home
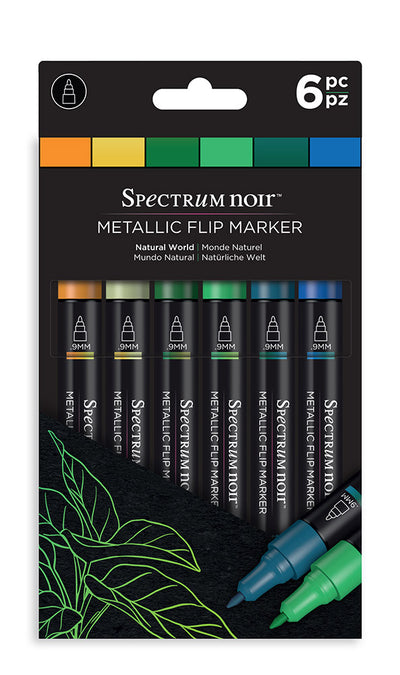
• Spectrum Noir Alcohol Markers: TB3, BP1 and CT4
• Spectrum Noir Blending Solution refill
• Clear Spectrum Sparkle
• Spectrum Noir Black fine artliner pen
• Neenah Cardstock
• Collall Tacky Glue
• Collall 3D Glue Gel
Other Supplies:
• Black archival ink
• Posca White Pen or white gel pen
• Ribbon
• Wooden Heart or other shape
• Sanding block
Follow these steps to recreate!
1. Trace around your wooden shape onto Neenah card. If you cut outside the line then the card will be ever so slightly bigger than your shape and this allows us to get a perfect fit with a neat edge later on.

2. Take 3 colour alcohol pens (TB3, BP1 and CT4) and start scribbling random blocks onto your card. Overlap them slightly. I have chosen these three colours as no matter how they overlap they will create a new bright colour and never muddy. We’re going to add a lot of alcohol blending solution so go over each block of colour a few times to get a good saturation of colour down. Don’t worry about the edges looking scribbly.
CRAFTY TIP: Experiment with different 3 colour tones for different looks (i.e. 2 different purples and 1 blue).
3. Working quite quickly so that the colours haven’t fully dried: take your blending solution refill and drop the solution onto the blocks of colour focusing mainly on the edges. This will soften all the edges and create perfectly blended new colours at the seams.

4. If you don’t want the orbs you can skip this step. Otherwise we are going to repeat step 3 but this time only do so after all the previous alcohol has evaporated and the card is completely dry. This way will give the orb look because the dry card means that the drops of alcohol will only push the pigment within the confines of the drops creating a clear edge.
CRAFTY TIP: Vary the size of the drops. Also, create “orbs within orbs” by dropping smaller droplets within bigger ones.

5. Leave the card to dry completely. Then take your silhouette stamps to create a simple scene. I’ve stamped using black archival ink and perched the fairy on top of the toadstools. If you don’t get a clear impression from your stamp then don’t forget you can do a touch up with your black artliner pens.

6. Add extra details using your black artliner (such as the faux stitching I’ve done around the edge) and using your white pen to create dots and sparkle shapes in the background. Then stick the card to your shape using your tacky glue – it will have a slight overhang. Once the glue has dried, sand the edges down using your sanding block and use your pokey tool to punch the holes into the card.

7. Add the final touches – I’ve put some clear sparkle pen highlights on the wings and edges of the toadstools and tied on some organza ribbon. I also stamped the sentiment from the stamp sets and coloured the edges using the same three colours as my background. To give it some dimension, I have stuck it down using the 3D glue gel.

Happy Crafting,
CCUK!
XX