How to craft a Halloween card
- Read time: 2 minutes
- Written by: Crafters
Halloween is a great time of year for crafting! From spook-tacular decorations to homemade treat bags for all those goodies, Halloween offers so many ways to craft with friends and family.
If you’re hosting a Halloween party this year, why not go all out with handmade card invitations? Or maybe you just want to share some ghoulish goodwill for spooky season! We’ve used stamps and patterned papers from the Sara Signature Halloween Box for this easy step-by-step project.

You will need:
- Sara Signature Halloween Box
- Spectrum Noir TriBlend Markers
- Finesse Alcohol Proof Inkpad – Noir Black
- Harmony Quick Dry Inkpad – Flagstone
- Neenah Solar White card
- Multi-purpose card
- Foam pads 2mm and 3mm
- Collall All Purpose Glue
- Circle dies
Step-by-step instructions:

- Create a 6″ x 6″ card base from multi-purpose card. Cut out the following
- Purple card from Halloween Box: 5 3/4″ x 5 3/4″
- Black card from the Halloween Box: 5 1/2″ x 5 1/2″
- Patterned paper from Halloween Box: 5 1/4″ x 5 1/4″
- Layer together and glue onto card base.

- Cut the following:
- Patterned paper: 5 1/4″ x 1 1/4″
- Black card: 1 1/2″ x 5 1/4″
- Purple card: 1 3/4″ x 5 1/4″
- White card: 2″ x 5 1/4″
- Layer together and use foam pads to attach onto card base as shown.

- Die cut circles from white, black, purple and white card and layer up as shown.
- Take the cobweb embossing folder from the Halloween Box and emboss the design onto the smallest circle using a Gemini Die Cutting and Embossing Machine.
- Stamp the bat design from the Halloween Box onto white stamping card using the Finesse Alcohol Proof Inkpad.
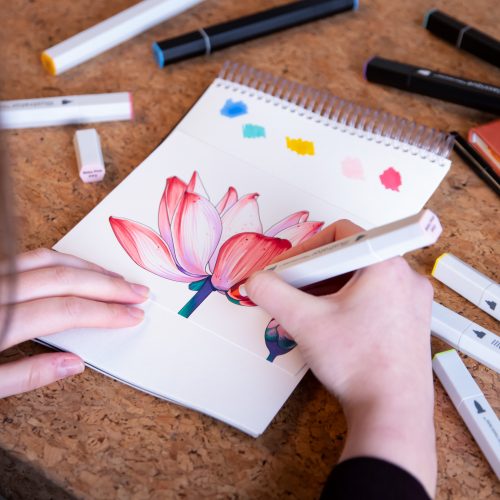
- Colour using Spectrum Noir TriBlend Markers.
- Use scissors or a craft knife to fussy cut around the design and use foam pads to attach your bat to the centre of the circle.
- Stamp the cobweb design from the Halloween Box twice onto white stamping card using the Harmony Quick Dry Inkpad.
- Cut out using scissors or a craft knife and use 3mm foam pads to attach to the card.
- Finally, stamp a Halloween sentiment from the set with quick dry ink onto white stamping card. Cut out the sentiment, layer onto a piece of black card about 1/4″ larger and use 3mm foam pads to attach to your Halloween card.

We can’t wait to see your finished makes! So, don’t forget to show us your Halloween craft creations on Facebook UK, Facebook USA, Twitter, Instagram UK, Instagram US, Pinterest UK or Pinterest US using the hashtag #crafterscompanion
