How to make a pop up box card
- Read time: 4 minutes
- Written by: Crafters
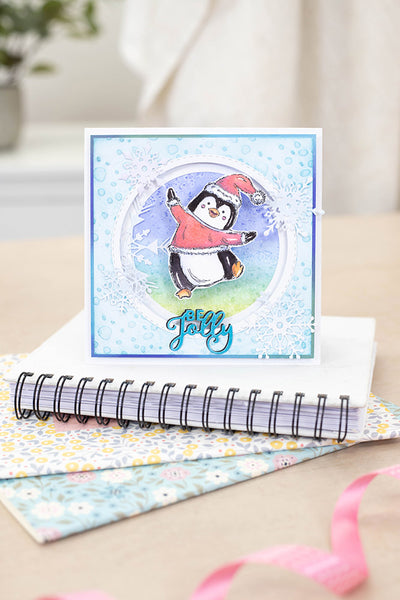
If you want to level up your papercraft and try something new, a pop up box card is so much fun! This craft project is a great way to have some fun with different styles, craft and colouring techniques to create something truly eye catching that’s guaranteed to make those big celebrations even bigger. Just follow our step-by-step guide to make your own pop up box card, ready to decorate and customise in your own style.
We’ve used the Sara Signature Through the Looking Glass Collection to create this enchanting card. Filled with curiouser and curiouser stamps, dies, patterned paper and more there are so many magical designs to choose from!

You will need:
- Sara Signature Through the Looking Glass Collection
- Spectrum Noir TriBlend Markers:
- Spectrum Noir Finesse Alcohol-Proof Inkpad – Flagstone
- Spectrum Noir Water Proof Inkpad – Noir Black
- Neenah Solar White Card
- Multi Purpose Card
- Acetate
- Collall All Purpose Glue
- Foam Pads (2mm and 3mm depth)
- Red Liner Tape (6mm width)
- Scissors or craft knife
- Scoreboard and Scoring Tool
Step-by-step instructions:
Box base
- Cut out a piece of Multi Purpose Card to measure 6 1/2″ x 11 3/4″.
- Score at 4 1/8”, 5 5/8”, 9 ¾” and 11 ¼”.
- Rotate the card 90° to the right and score at 3 ¼” from the first score line to the bottom of the sheet of card.
- Trim down the three vertical lines on the left to where they meet the horizontal score line.

- Cut into the small section on the right-hand side so that it forms a tab of 3 ¼” height.
- Trim the 3 top flaps so that they’re 2 ½” in height
Adding mats and layers
- Cut a piece of blue card to measure 6 1/4″ x 3 7/8″ and a piece of patterned paper to measure 6 ” x 3 5/8″. Layer up and attach to the back panel of your box base.
- Cut out:
- Two pieces of blue card: 3″ x 1 1/4″
- Two pieces of patterned paper: 2 3/4″ x 1″
- One piece of blue card: 3″ x 3 7/8″
- One piece of patterned paper: 2 3/4″ x 3 5/8″

- Layer up to create three panels and attach to the the sides as shown.
- Flip over your box base and for the box base flaps cut out the following:
- Four pieces of blue card to measure 2 1/4″ x 1 1/4″
- Four pieces of patterned paper to measure 2″ x 1″
- Two pieces of blue card to measure 2 1/4″ x 3 7/8″
- Two pieces of patterned paper to measure 2” x 3 5/8”

- Layer up to create panels and attach as shown.
Building the box

- Apply Red Liner Tape to the tab, follow the score lines to fold the box together and adhere the tab to the rear of the back panel.
- Cut two strips of Multi Purpose Card to measure 3/4″ x 5 1/8″.
- Score at 1/2″ and 4 1/8″ on each strip.

- Fold the score lines in to create tabs and attach to the inside of the box as shown.
Adding decorations
- Stamp your chosen designs onto Neenah Card using an Alcohol Proof inkpad.
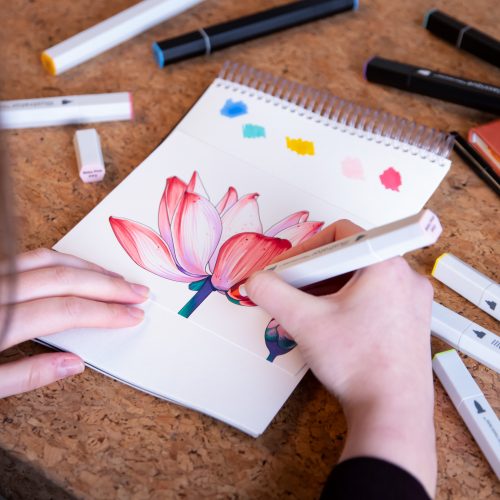
- Colour using TriBlend markers.
- Fussy cut out using scissors or a craft knife.
- Cut out strips of acetate to measure 3/4″ wide, attach your cut out designs onto one end and adhere the other end to the inside of the box.
- Save a few pieces to attach to the back panel of the box card.
- Stamp your chosen sentiments onto Multi Purpose Card, cut to size and layer on to a slightly larger piece of black card.
- Use foam pads to attach to the front of your box card.

We can’t wait to see your finished makes! So, don’t forget to show us your creations on Facebook UK, Facebook USA, Twitter, Instagram UK, Instagram US, Pinterest UK or Pinterest US using the hashtag #crafterscompanion
