How to make a cascading butterflies card
- Read time: 3 minutes
- Written by: Crafter's Companion
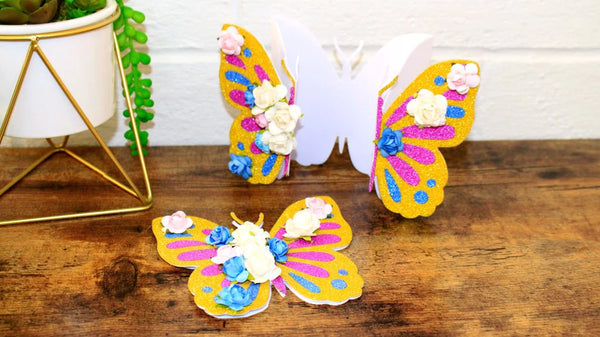
Are you looking to add a touch of elegance to your cardmaking projects, or change up your usual papercraft routine? Look no further than the Gemini Edgeable Dies from Crafter’s Companion. With a wide range of different designs available including beautiful Cascading Butterflies, you’ll never go back to plain and simple cards.
Not sure where to start? We’ve got you covered. Follow along with our step-by-step guide to get started.
You will need:
- Gemini ‘Cascading Butterflies’ Metal Cutting Die
- Gemini ll Die Cutting and Embossing Machine (This will also work with any other Die Cutting Machine)
- 1pc of A4 White Multi Purpose Cardstock
- 1pc of coloured cardstock measuring approximately 3 x 7”
- Craft Tape
- Scissors
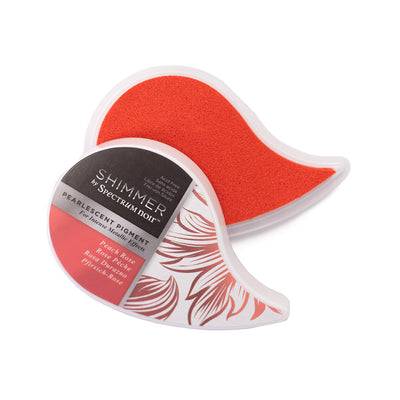
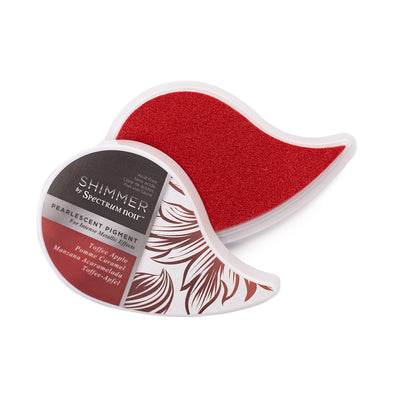
- Spectrum Noir Inkpad
- Blending brush or a small sponge
- Crafter’s Companion Glue Tape Pen
- 2pc patterned paper measuring approximately 5 x 6” and 5.5 x 6.5”
- 2pc of matching patterned paper measuring 2.5 x 6.5” and 2 x 6”
- Adhesive Foam Pads

Creating your card
- Take your white multi purpose card, your Gemini ll Die Cutting Machine and your Cascading Butterflies metal die. Place the die on the edge of your card, with the flat edge pointing inwards and secure it in place with some craft tape. Run this through your machine and once removed, peel off any excess card from around the design until you’re left with the beautiful butterfly design on the edge of your card.
- Take your coloured cardstock measuring 3 x 7” and repeat the same step with the metal die. This will sit behind your white die-cut card.
- Grab your inkpad and blending brush or small sponge. Dab gently onto the ink pad to gather a small amount of ink and lightly dab this onto the centre of each butterfly on your white card.
- Take your glue tape pen and put a line of glue along the straight edge of your butterflies on the inside of your white card. Once you’ve done this, take your coloured card and stick it directly under your die-cut design, with the straight edge towards the centre. Trim the edges of the coloured card so it aligns with your white card.
- For this step, you’ll need your patterned paper pieces. Take your paper piece measuring 5 x 6” and apply a line of glue around the edges of the backing. Stick this to the centre of your second piece measuring 5.5 x 6.5” so you have a slight border. Once you’ve done that, apply glue around the edges of the back of the paper and stick this to the largest section inside your white card.
- Repeat the process with the 2 smaller pieces of patterned paper, and stick these to the small section on the outside of your card, using adhesive foam pads instead of your glue pen to give it some dimension.
Your beautiful cascading butterflies card is now complete! Decorate with ribbon, bows and sentiments to give it an even more personal touch.
Don’t forget to share with us on Social Media! Tag us on us Facebook, Instagram, LinkedIn, or TikTok and use the hashtag #crafterscompanion so we can check out your skills!
