Stencilling is a super fun, and super versatile technique – you can pop a stunning stencilled pattern onto just about anything and there’s a whole kaleidoscope of colour, texture and pattern to explore!
So, to get you on your way, we’ve come up with this beginner’s guide to stencilling and stencil art!
Learning how to stencil will bring a world of creativity to your fingertips. So you can add an artistic and unique background, pattern or style to your art and craft projects!
It’s so simple to learn that you’ll be looking to experiment and explore with colour combinations and mediums in no time.
What’s so great about stencilling anyway?
Stencilling is one of the most straightforward and accessible art and craft techniques, absolutely anyone can have a go and you don’t need any experience whatsoever to create a fabulous design.
So even if you think you have no artistic side, by learning to stencil, and use stencil templates we guarantee you will unlock a hidden wealth of creativity! The amount of different mediums, techniques and effects on offer mean you can go in whichever direction you choose.
What can I stencil onto?
Stencils are also incredibly versatile, they can be used to create beautiful art pieces, craft projects or to upcycle furniture, paving slabs, clothing – wherever your inspiration strikes!
You can add a stencilled design to fabric, mount board, stone, wood – even walls, there are barely any limits to this artform.
The only thing to avoid stencilling are rough or very heavily textured surfaces. Because the stencil can’t lie flat on the surface your colour will seep underneath and smudge the image. So, if you’re working with a rough surface, sand it down before you start applying colour!
But, to start off with, and to get your technique looking picture perfect we’re going to focus on stenciling onto paper and card.
White stamping card is a sturdy and versatile medium to work with, and you can cut it down to whichever size and shape suits your project.
What can I use stencils for?
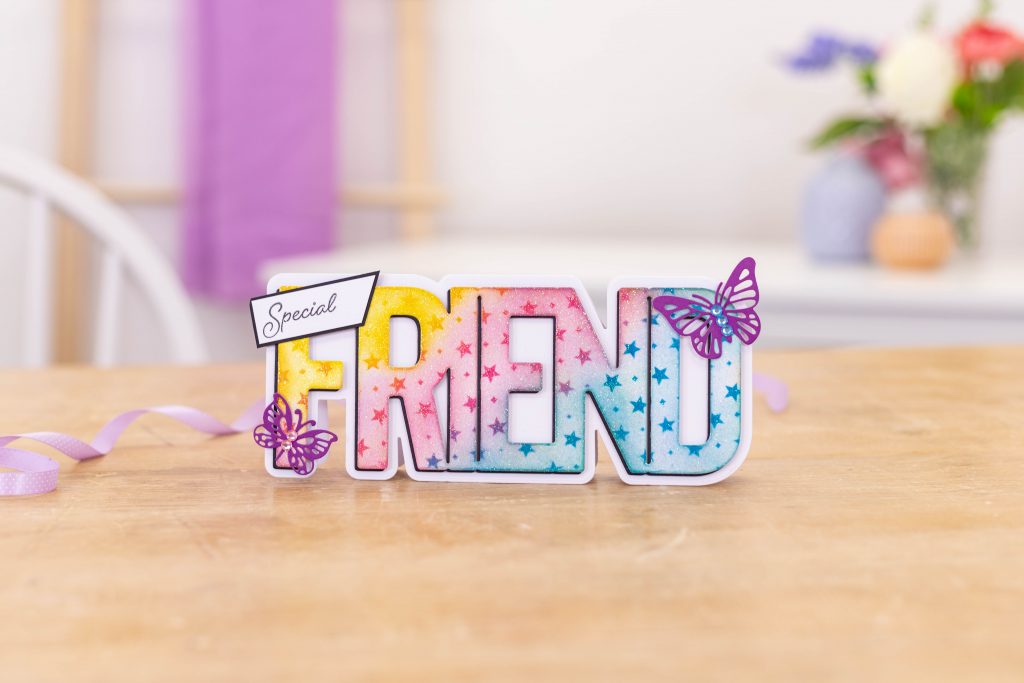
Stencilled patterns and images on paper and card can be used for so many different crafty projects. From card making and scrapbooking to decorating gift wrap, or favour boxes- the world is your oyster!
And by using cardstock or paper, you open the door to extra effects and techniques such as using clear embossing powder (more on that later!)
What kind of stencil should I use?
Stencils come in all shapes, sizes and materials. They can be made from paper, wood or metal but are most commonly made from plastic. Plastic stencils are durable and can be cleaned and used again and again.
Crafter’s Companion has a varied range of plastic stencils in all sorts of shapes and sizes:
Large Stencils – Measuring a whopping 11.75” x 11.75” these stencils are perfect for scrapbook projects as they will fill the whole page with a beautiful pattern! You can also choose to use a section of the stencil for smaller details, so they’re super versatile as well as being supersized!
Alphabet & Number Stencils – The perfect way to personalize your projects with sweet monogram, or special date!
Background stencils – Specially designed to create beautiful background patterns – perfect for cardmaking, or creating stunning scrapbook pages
Layering Stencils – Each set includes three stencils to combine and create a patterned background plus a stunning layered image! You can mix and match the stencils, use the background pattern on its own or create a stand-alone image with no background – it’s all up to you and your creativity!
3D Folders & Stencils – These sets are two in one! You can create a stunning raised and embossed image then add colour using a corresponding stencil to create a fantastic 3D effect, full of depth and dimension!
What medium can I use to colour?
Paint, ink, markers, pencils – whatever takes your eye! Each medium will create a different effect, we’ve laid out a few below so you can choose accordingly:
Pigment Inkpads – Harmony Opaque Pigment Inkpads from Spectrum Noir are perfect for creating stencil art on card and paper. The slow-drying ‘sticky’ ink packs a real wallop of colour. And it also offers time for you to play with the colour, blending and even heat-embossing to create amazing effects
Water Reactive Inkpads – Spectrum Noir Water Reactive Inkpads have been designed to be used with water to produce stunning blended and watercolour effects. Blend colours and brush over your stencil for a stunning and soft look
Liquid Inks – Spectrum Noir has a whole range of liquid inks to play with! From beautiful and blendable AquaTint to shimmering Metallic and Sparkle Inks . There’s a whole rainbow of colours to choose from! Apply with a brush for a bold pop of colour, spritz or blend with water – liquid ink offers a treasure trove of effects to play with!
Markers – For a precise and bold pop of colour, Spectrum Noir Classique Markers are just perfect. Each pen is dual-ended, so you can swap between a bullet tip for fine details and a chisel tip for bolder swipes of colour
How to use a stencil
The most satisfying part of any stencilling project has to be the moment you peel back the stencil template to reveal the finished image, crisp, clear and just how you pictured!
There are a few tips and tricks to ensuring beautiful results each time, so we’ve laid down some simple step-by-step instructions to follow:
Choose your card and lay it down on a flat surface. We like to use a craft mat or 13” x 19” Glass Cutting Mat to protect from any inky mishaps!
Choose your stencil, then lay it on top of your base material where you would like the image to be positioned
Fix your stencil in place with Low Tack Tape, as this tape doesn’t have a permanent bond it will keep your stencil from slipping and sliding about, but you can peel it off without leaving any marks afterwards!
Choose your colouring medium and your colour and apply it to the open spaces in the stencil.
Once you’ve filled the gaps with the colours of your choice, wait a few minutes for the paint or ink to dry. We know! You can’t wait to see your finished design but it’s worth it, wet paint or ink around the edge can drip when lifting off the stencil which could spoil all that hard work.
After the paint or ink is dry, carefully peel off the tape and remove the stencil. Your beautiful image should be beneath!
Extra tips and tricks!
If you want to keep an area of your card blank, cover it with a piece of scrap paper and fix in place with low tack tape
To avoid messy edges, make sure you use a thin layer of your colouring medium. Of course, if you don’t mind about having abstract edges, go as thick as you like!
If you’re using a brush it’s a good idea to offload your brush each time before applying a layer of colour. This means, each time you dip your paint into your pot of colour – remove the excess onto a rag or paper towel so you’re only applying a little to your stencil at a time
Stencilling effects to try
Use Texture Paste – To create a stunning raised and textured design, simply mix paint or ink into a small amount of texture paste. Apply using a palette knife, smoothing it over the stencil like you’re buttering a piece of bread to create a stunning multi-media look!
Layer up colours – This works particularly well with inkpads.Lightly layer a darker colour onto the edges of your image to add shade and dimension
Dabs and strokes – Instead of laying down smooth strokes of colour dab, splash and stroke with a brush to add texture and incredible dimension
Create an enamelled effect – Cover the inked areas with Clear Embossing Powder and dry with a heat gun to create a stunning, glazed and glossy look!
Spritzing – For a super distressed look, use a brush to spritz and flick liquid ink over your stencil. When it’s lifted your design will have a slight spatter effect. Or why not spritz clear sparkle ink over a coloured design to add a subtle shimmer?
Caring for your stencils
Stencils can be used over and over again. But if you want them to last you have to look after them!
Make sure you wipe down the stencils every time you use them to avoid staining and preventing the build up of product. You can use warm water and soap or a simple baby wipe.
Never scrub your stencils because you can damage them or tear the detailed areas.
Store your stencils flat and between two pieces of cardboard. This will prevent them from buckling.
If this post has got you thinking about unlocking your inner artist with stencils, why not tune into the below episode of The Craft Class on Crafter’s TV to find out even more about craft stencils and how to create amazing effects!
And for a warm welcome to all sorts of craft techniques, join us for more episodes of The Craft Class on Crafter’s TV to unlock your creative potential!
We hope this guide to stencilling has answered your questions and helped de-mystify this colourful world! Why not let your creativity take the wheel and start stencilling today? Browse our range of Crafter’s Companion Stencils and see what takes your eye.